Eurorack flight case
Table of Contents
Buying a case
Before a start with my own build lets say a few words for ready-made cases. They can get really expensive. A good place to look for a custom and honestly sometimes even cheaper than mass-produced cases is Etsy. Just look a little around there are nice and good value cases, often with a power supply integrated.
Here is a link for a serach https://www.etsy.com/search?q=eurorack%20case
What do I want
I wanted a flight case where the rails are mounted in, in a cool colour and not just black. I didn't care for a Peli case. This will not be thrown around and will not have a hard life, so I had no problems with going with a cheaper brand. I wanted at least 2 rows of modules (6 U) and as wide as possible with a build in power supply. And I wanted aluminium rails. (I tried 3D printing of rails and cases, but the result was not good enough for my taste and practical use. And all in all I wanted to be it as cheap as reasonable. A wooden construction is much cheaper if you are on a budget, but I wanted the case.
Materials/Parts
Case
I looked for a colourful plastic case I could build everything into. I don't care about the manufacturer, the only important criteria are the inside measurements and the colour.
I had two contenders. The bigger MAX MAX505S and a smaller MAX MAX430S.
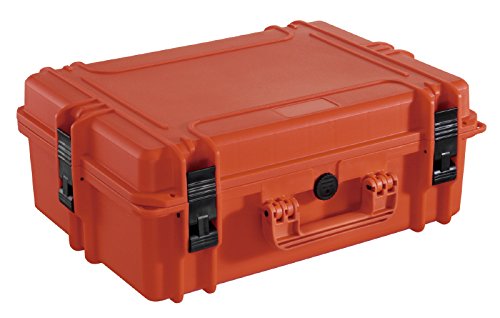

I went for the smaller one. It holds two rows of modules, has about the perfect height for the modules, but not enough space to be closed patched and it is narrower than half a meter (a 1 m rail could be cut and both parts could be used).
As I'm writing this, I must admit the bigger case would be c compelling alternative. I little wider means you have to buy more rails, but you can get more modules in. And you get 3 rows (9U) not only 2 (6U). The case is also deeper, so you can mount everything further away from the lid and close it without removing the wires. When there will be a second one for me it will probably be this size.
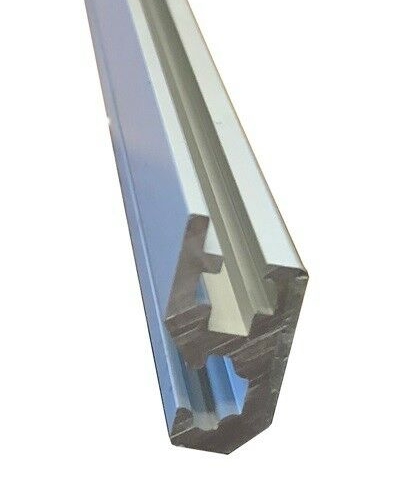
Rails
I searched a long time for cheap rails and couldn't find reasonable priced ones that shipped cheap to Germany. I found a seller on eBay where I bought 1 m of a single and 1 m of a double rail each.
Single rail: https://www.ebay.com/itm/Eurorack-Profile-Einfach-Eurorack-Geh%C3%A4use-G%C3%A4ng-Case/143148904747
Double rail: https://www.ebay.com/itm/Eurorack-Profile-Doppel-Eurorack-Geh%C3%A4use-G%C3%A4ng-Case/143148905473

Screws
I bought the cheapest square nuts I could find and a bag of 100 M3 screws. The were 10 mm long and I later realized that is too much. 8 mm would be the right length. (I didn't buy new ones, I used M3 nuts I had as spacers.)
Power supply
I bought a ready made power supply which outputs 12V, -12V and 5V. I think it is a MW RT-65B or MW RT-50B (can't see the number as it is build in).
Bus board
I first started to make my own bus board, but then I changed my mind and bought a ready made. I got the Koma Elektronik - STROM Busboard.

Purchase overview
These are the prices and places where I bought everything. I'm pretty sure that there may be better deals depending on where you life and when you buy.
| Part | Where to buy | |
| MAX MAX430S | Amazon | 57,64€ |
| Single Rail | eBay | 19,99€ |
| Double Rails | eBay | 21,99€ |
| Square nuts M3 100 pcs | eBay | 4,70€ |
| M3 100 10mm (BUY 8MM!) | eBay | 6,20€ |
| MW RT-65B | Reichelt | 25,00€ |
| Koma Elektronik - STROM Busboard | Ebay | 35,00€ |
| everything together | 170,52€ |
Rail mounts
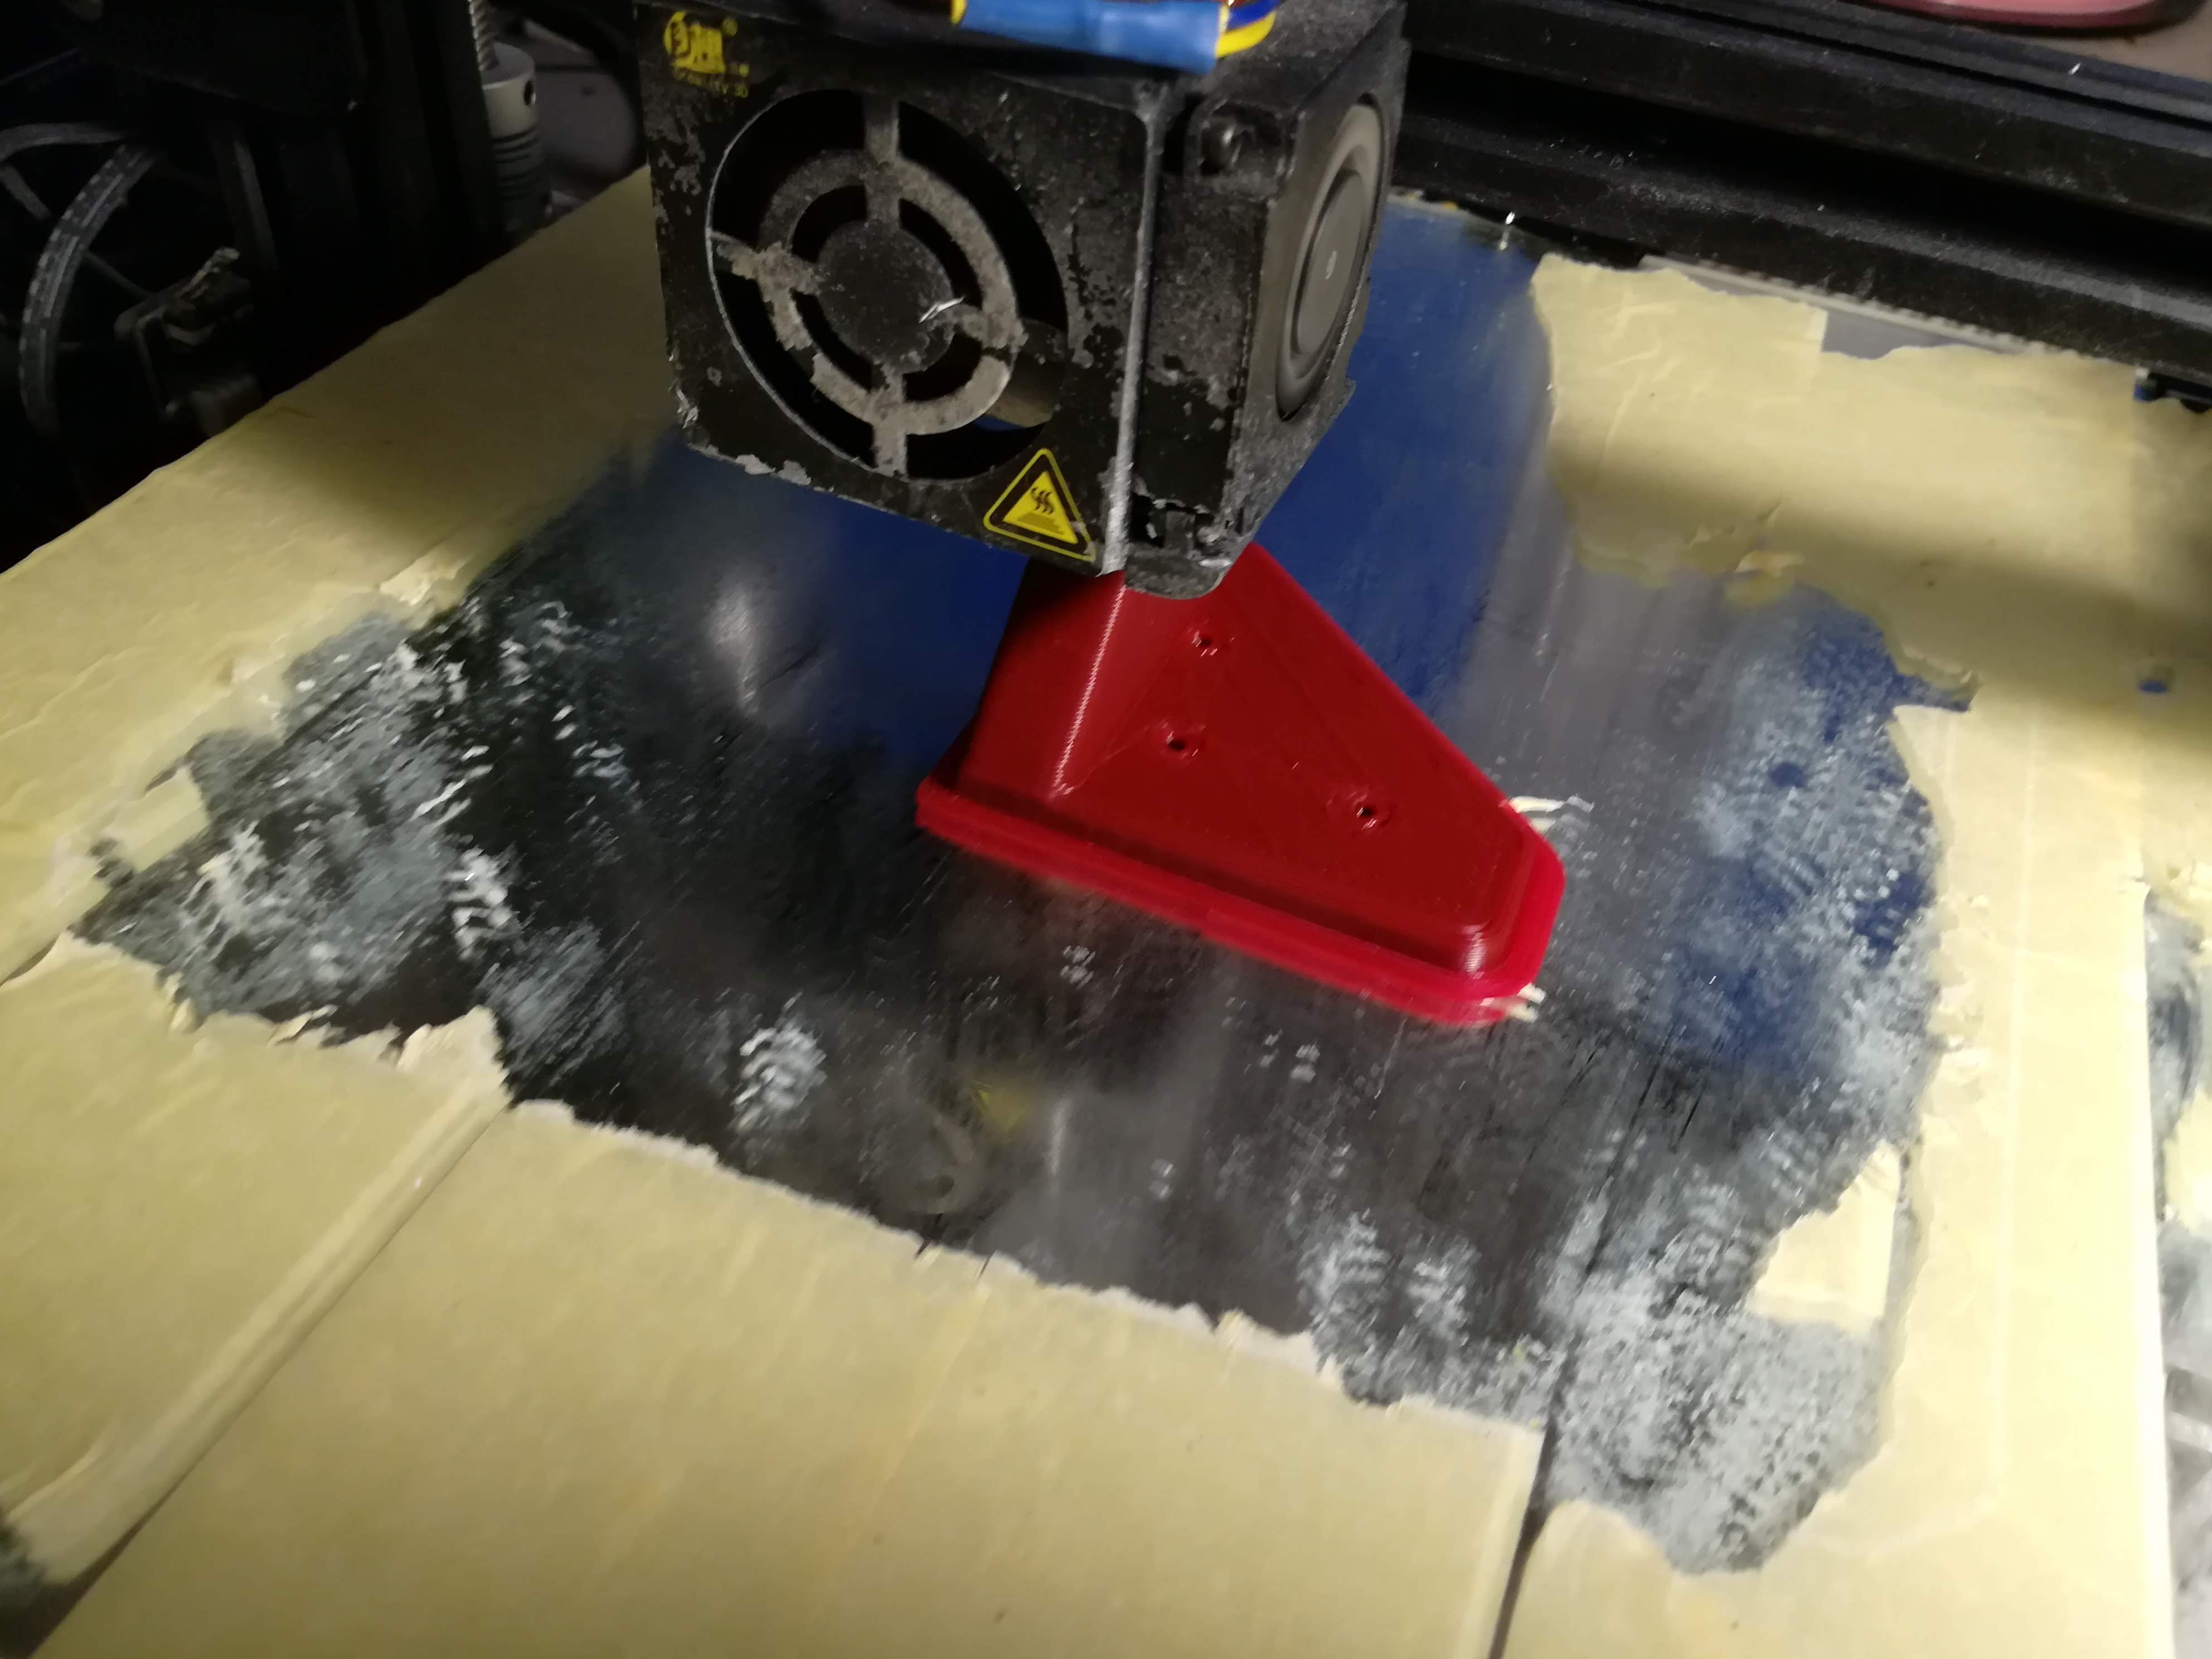
I designed all rails mounts to be 3D printed and be glued to the case and the rails with hot glue. I made small holes where you could squeeze the glue in and channels on the back of the party to get glue behind them.
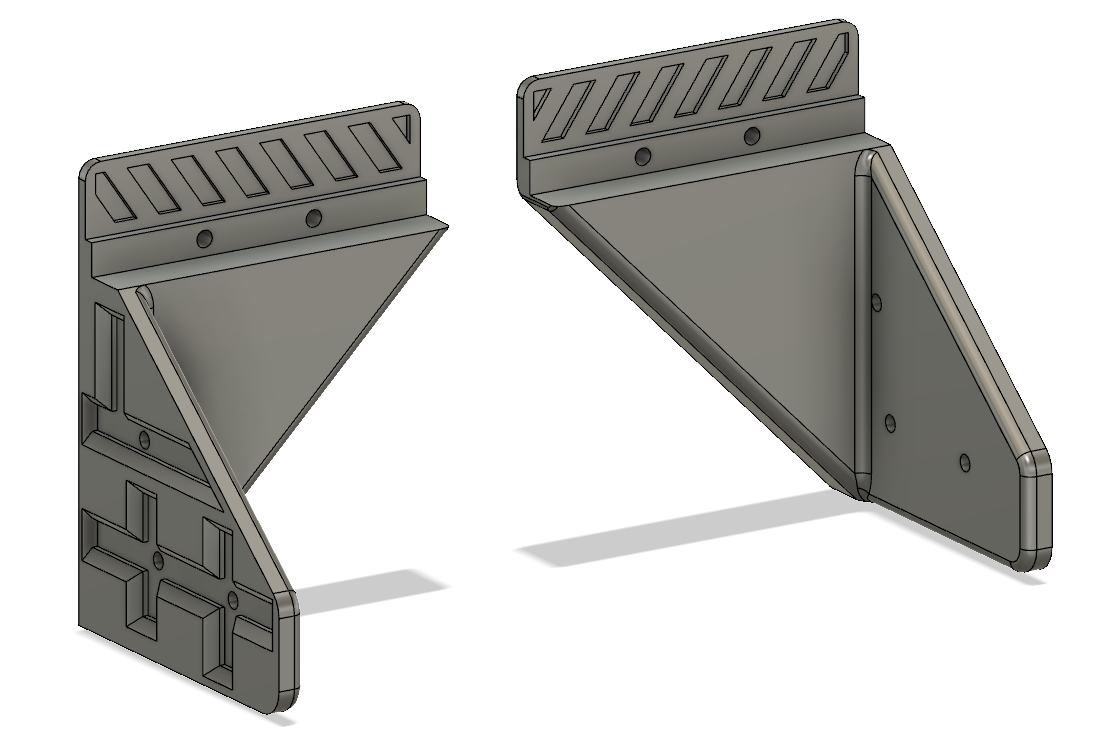
I made 3 different designs.
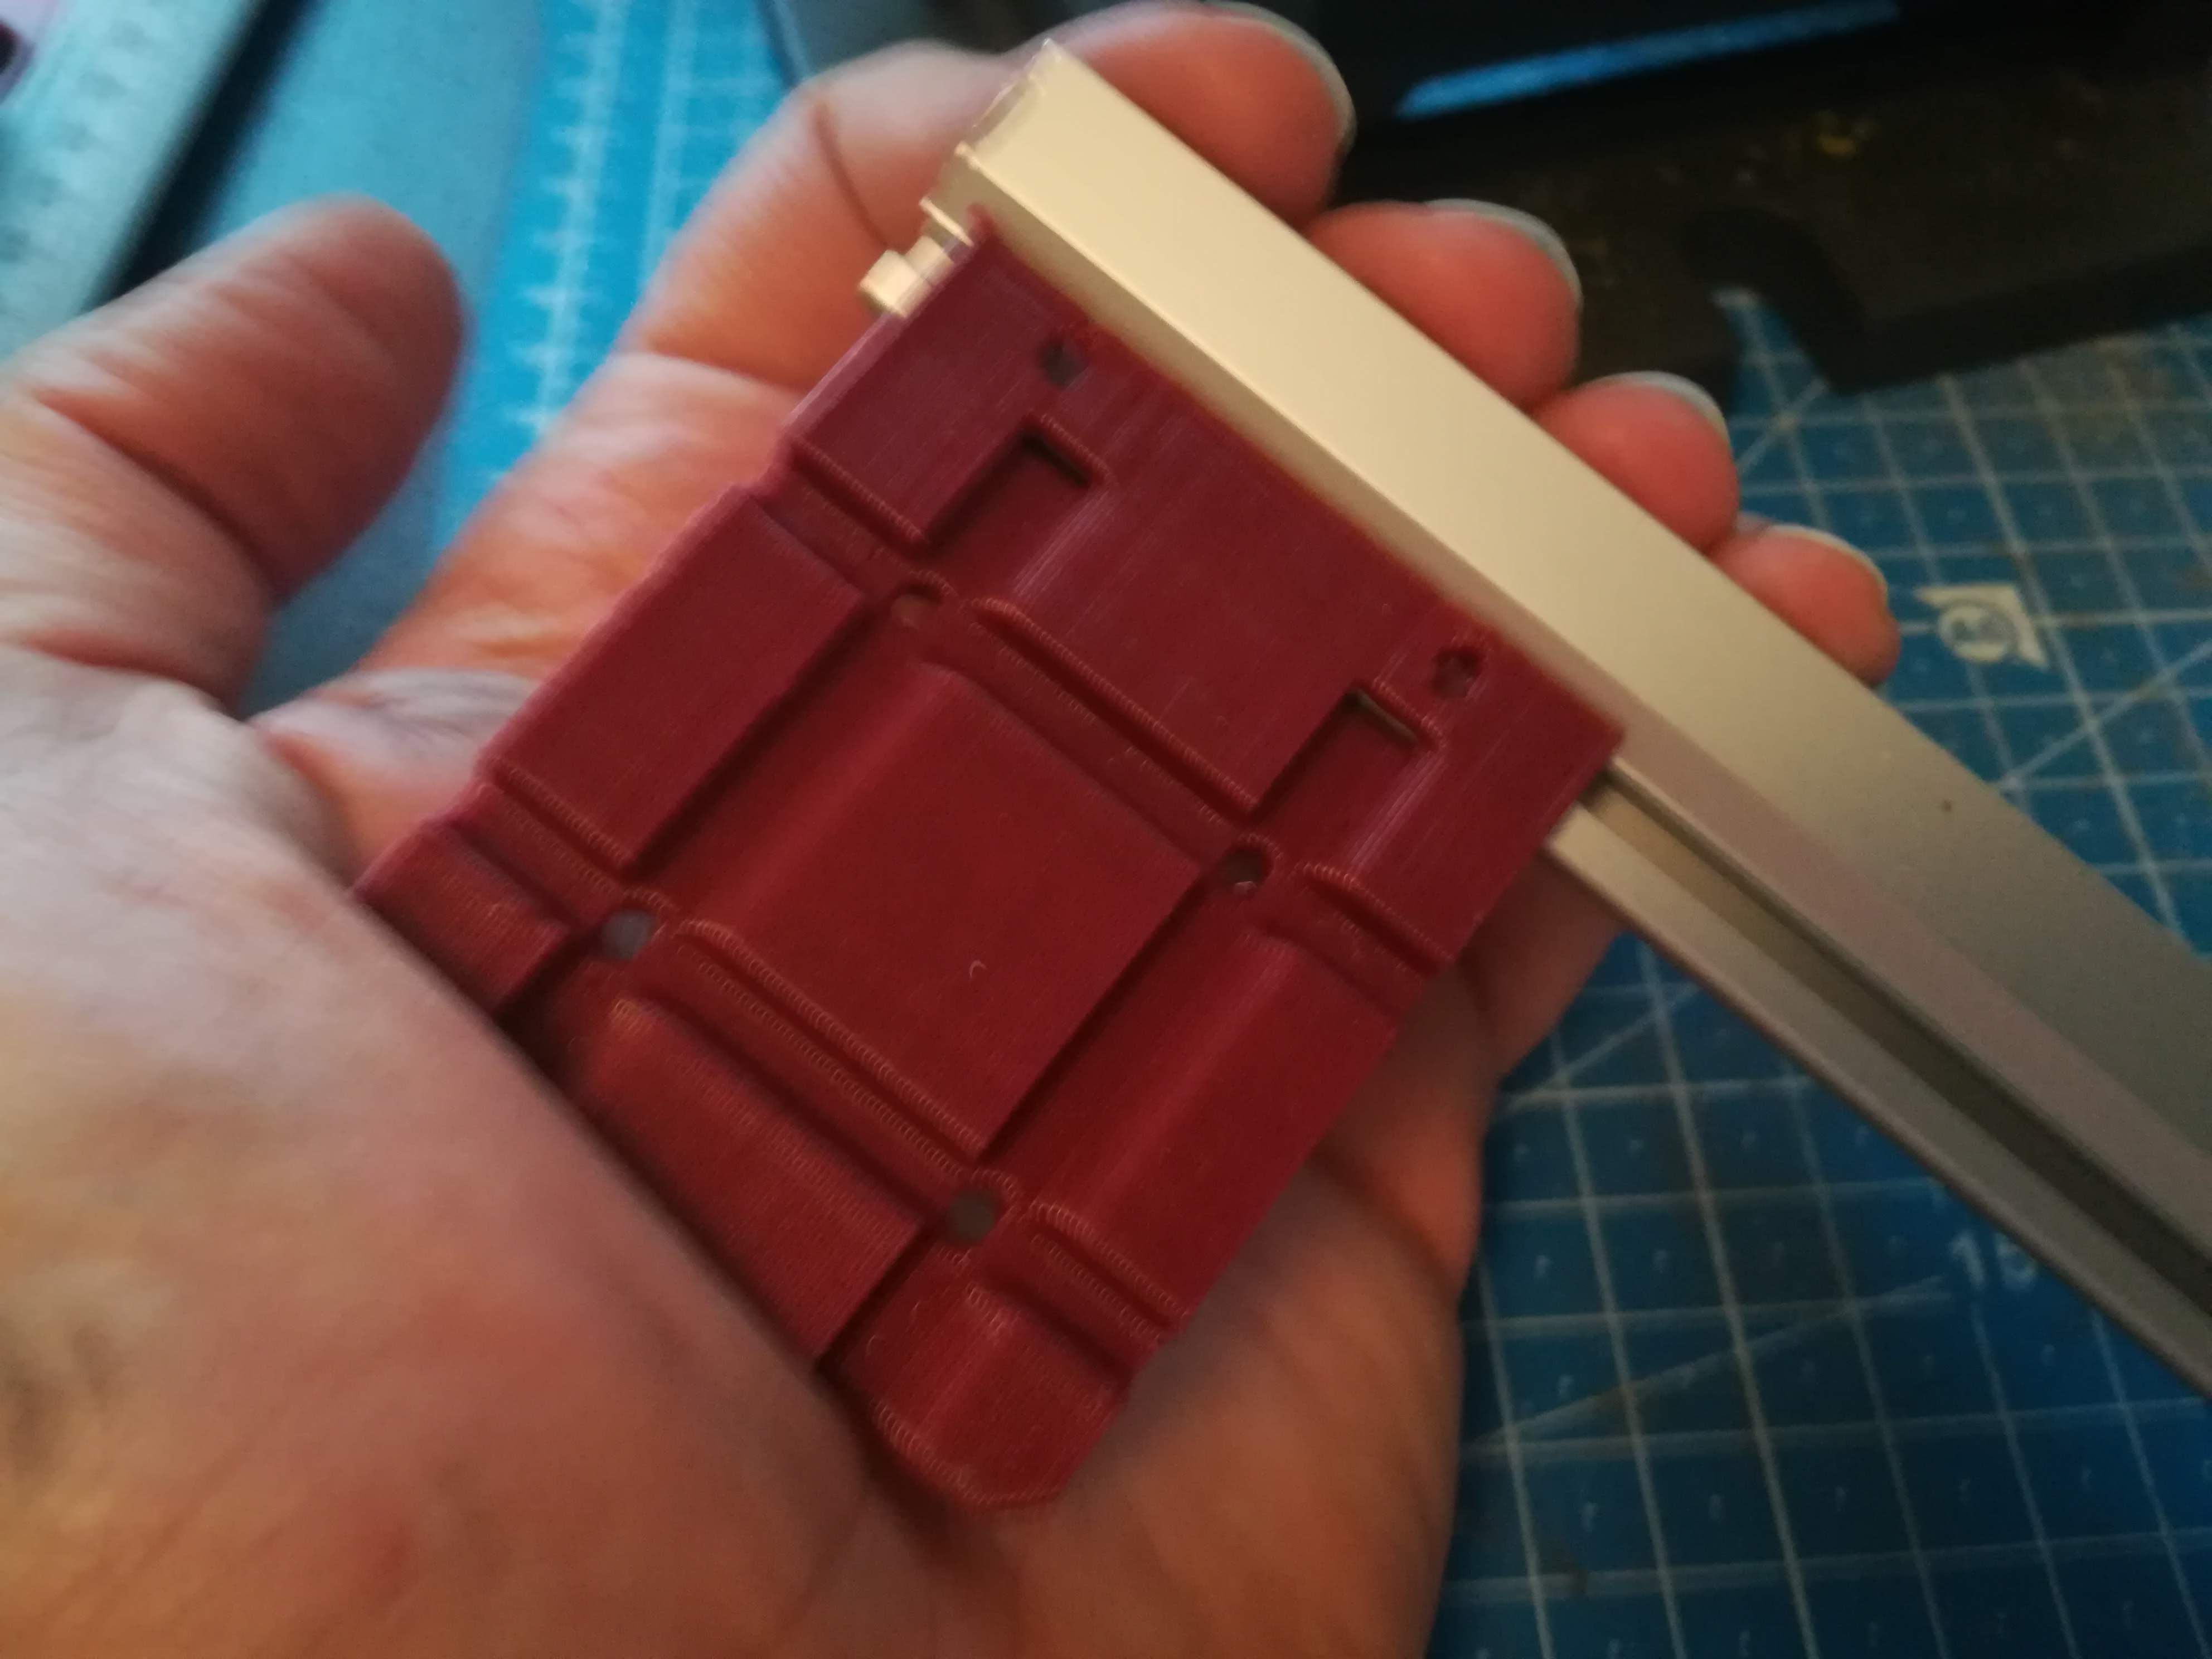
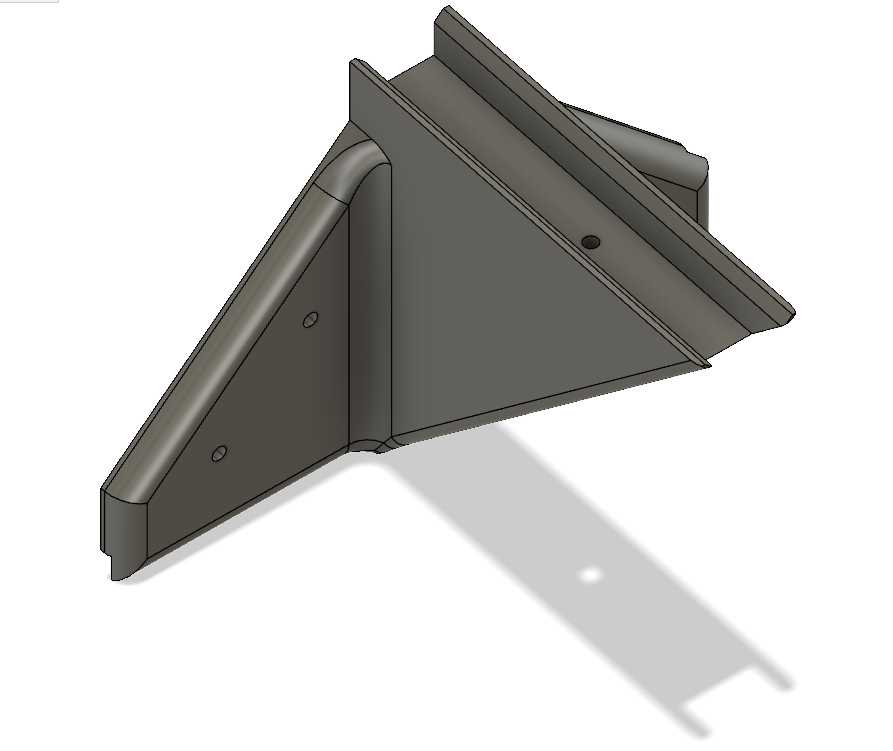
Single rail mount to the back
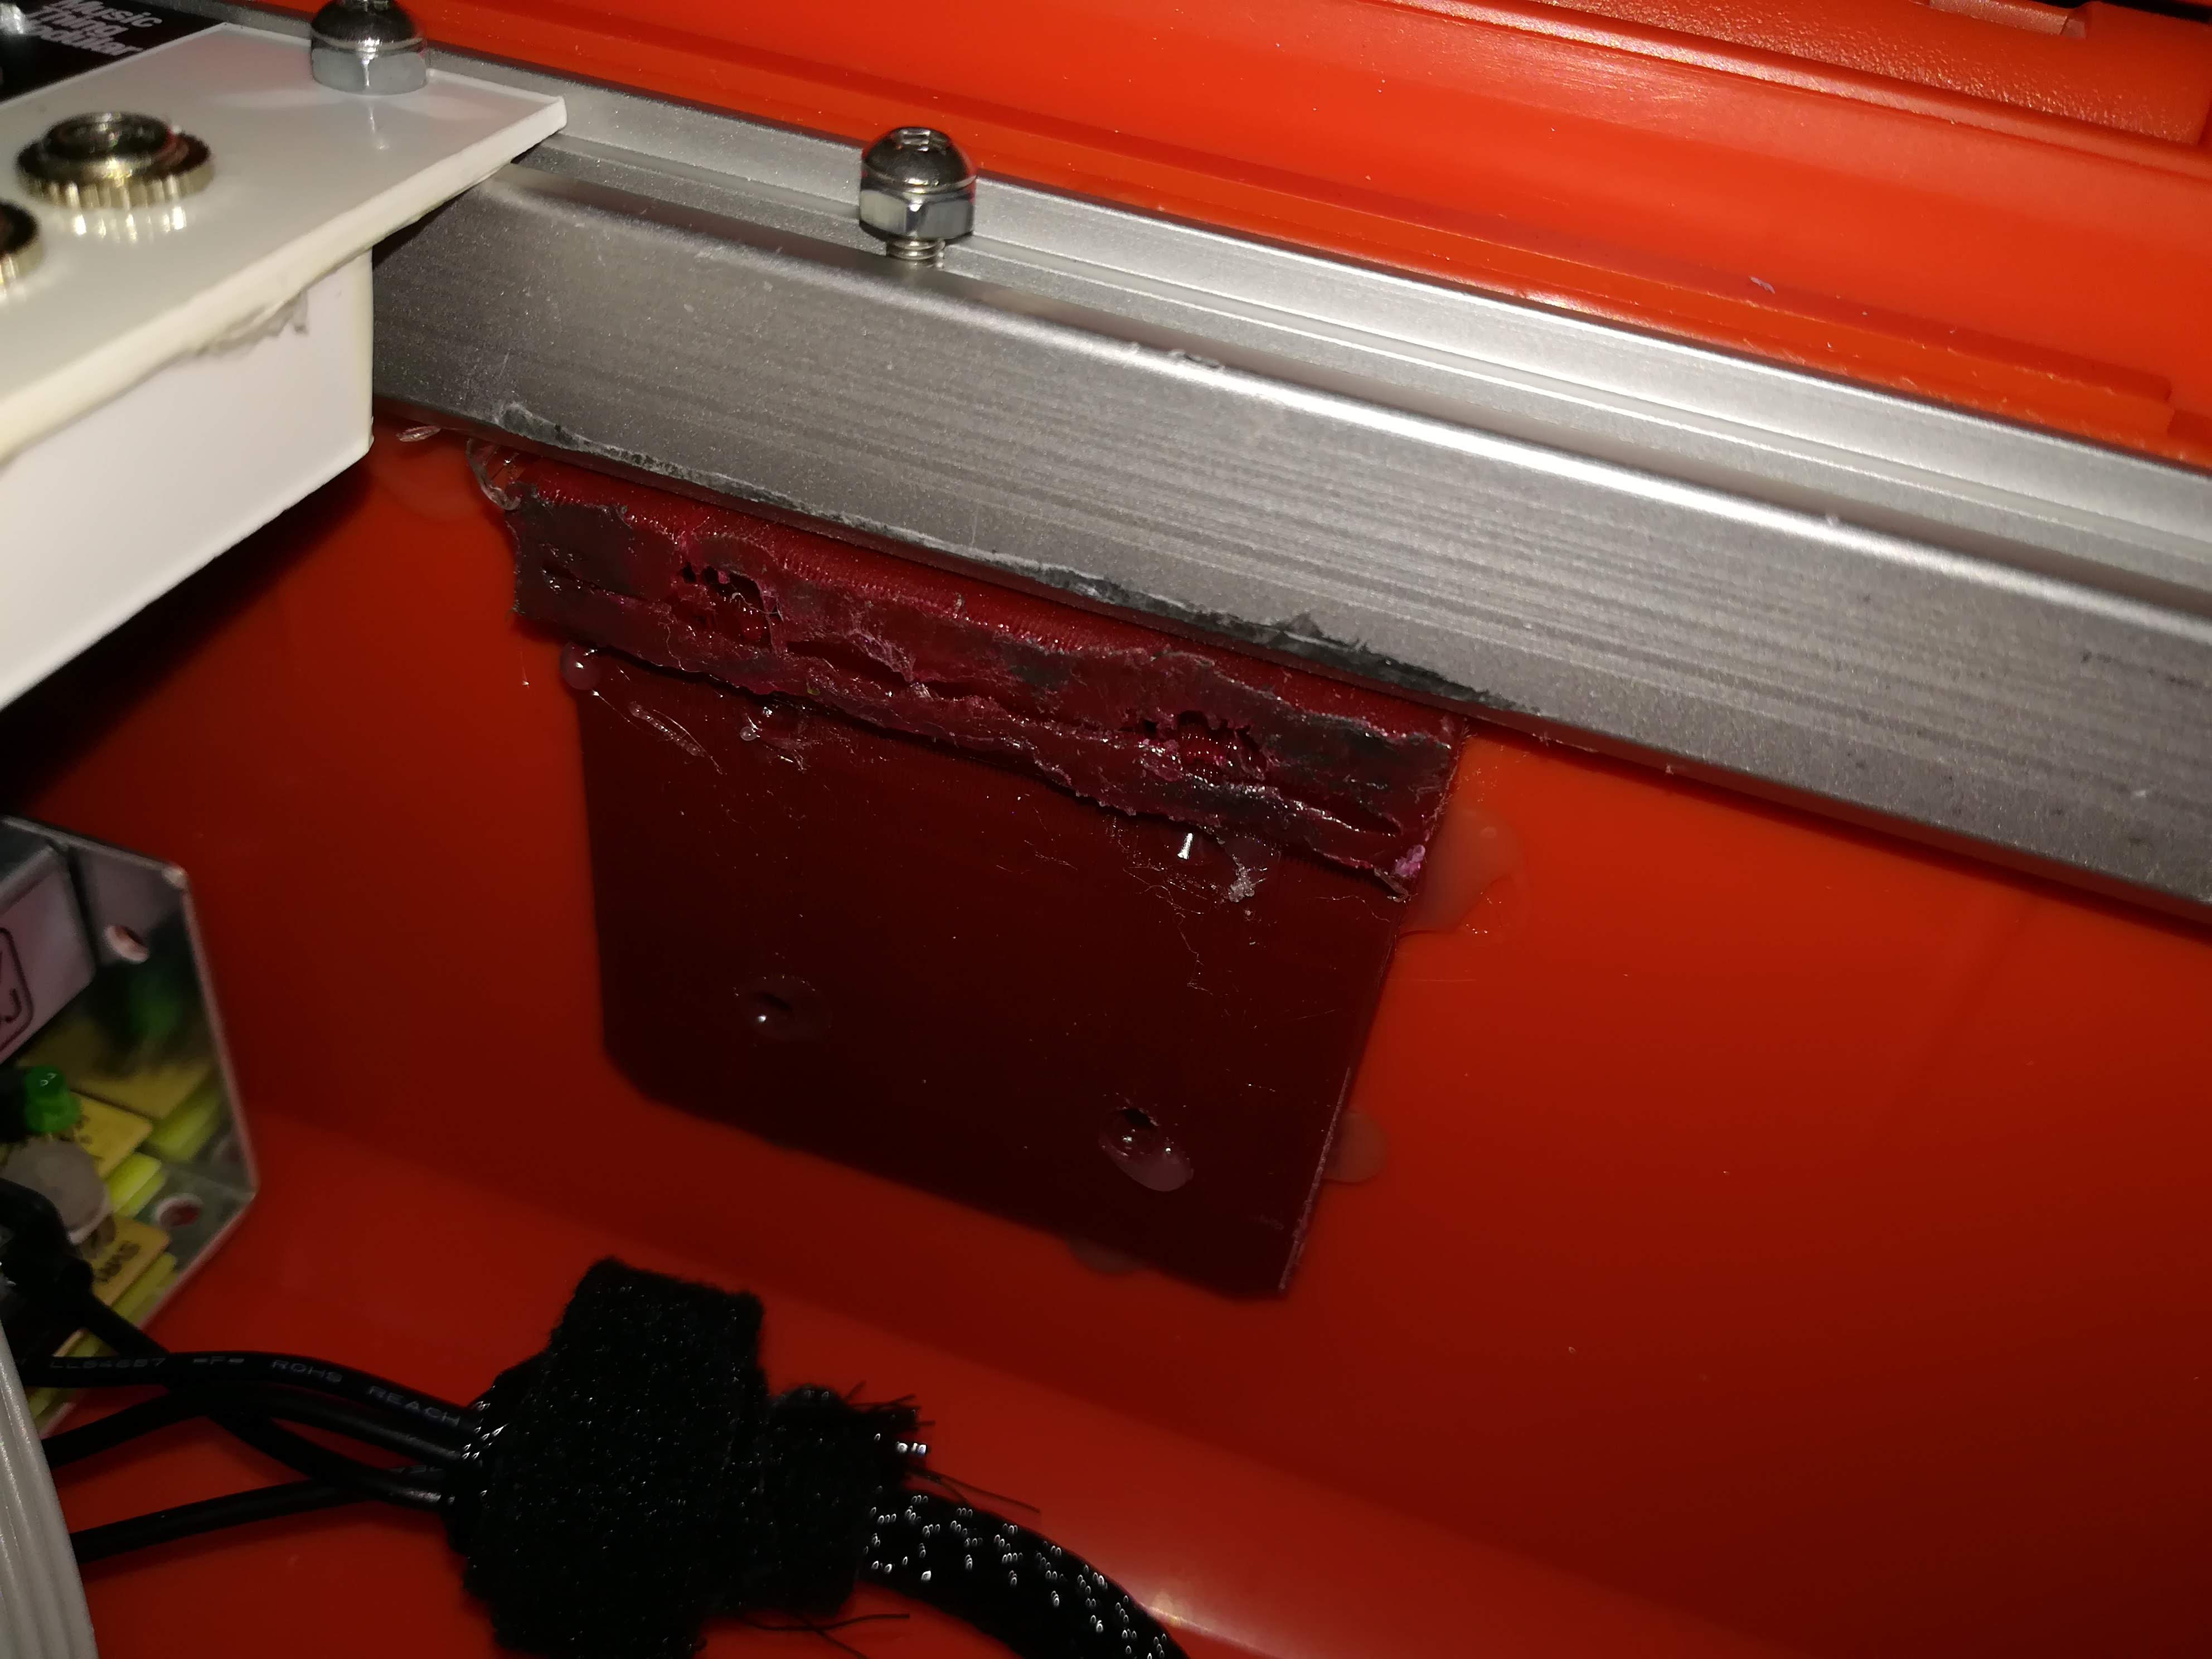
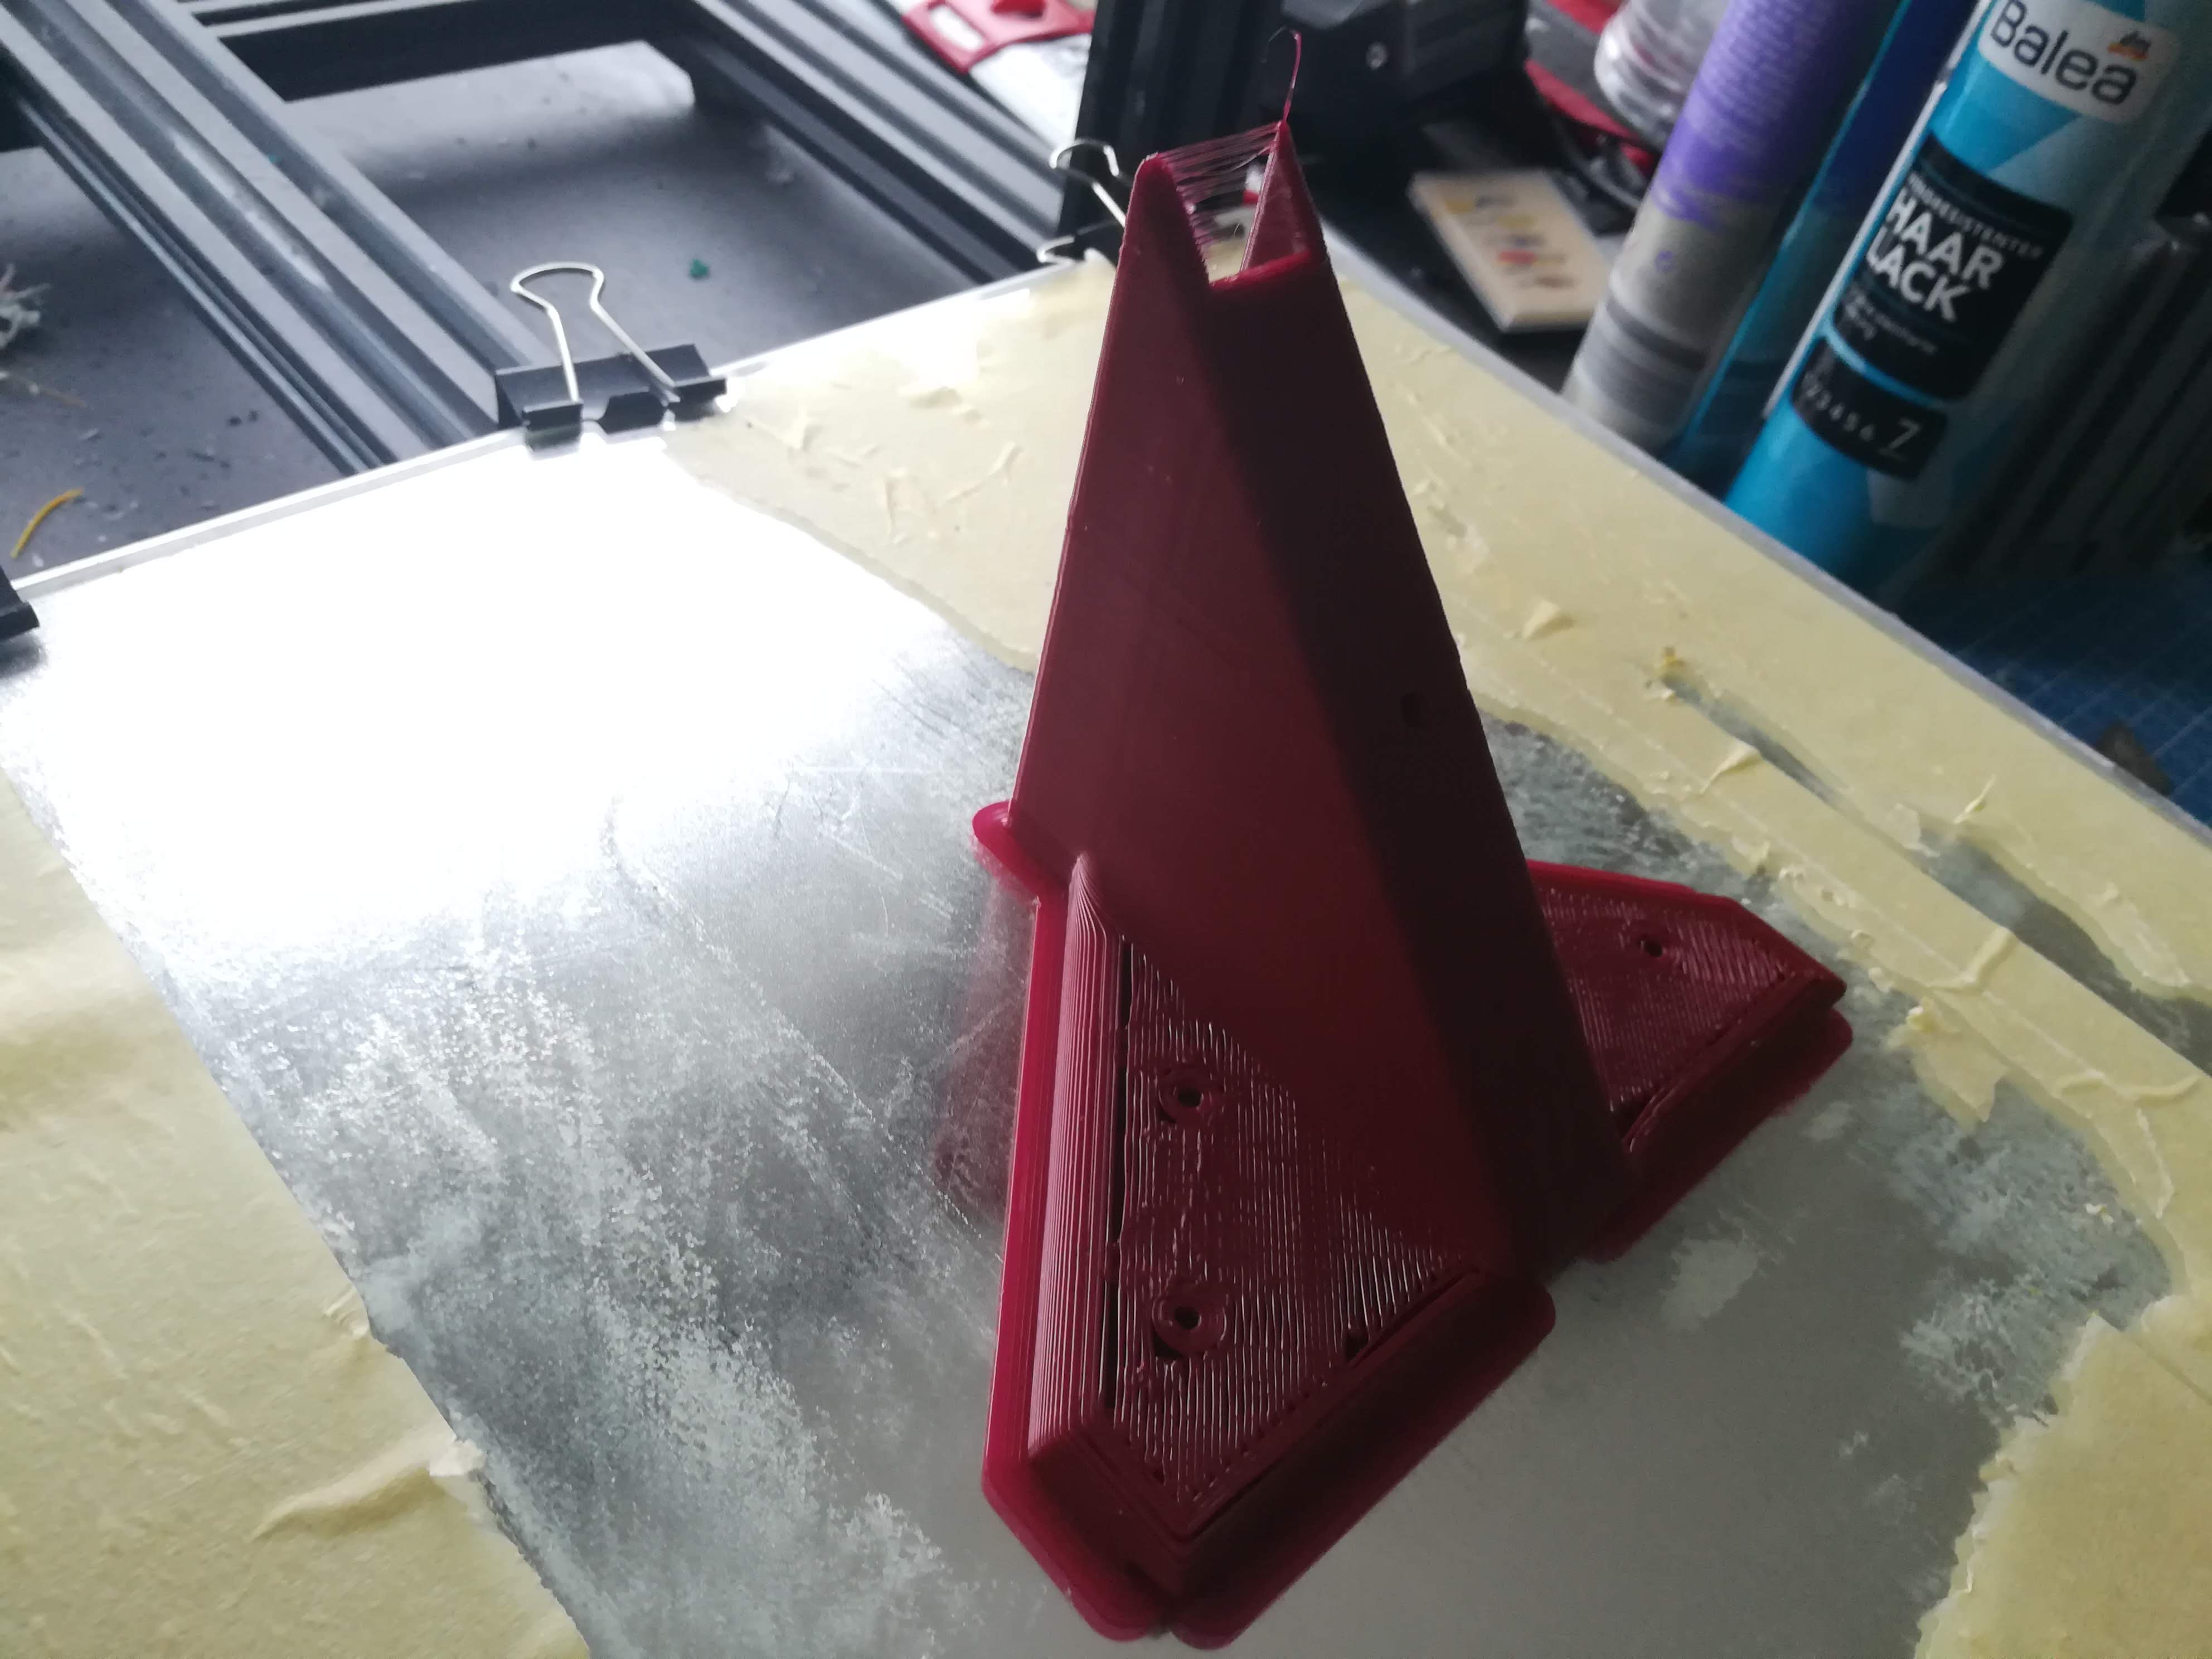
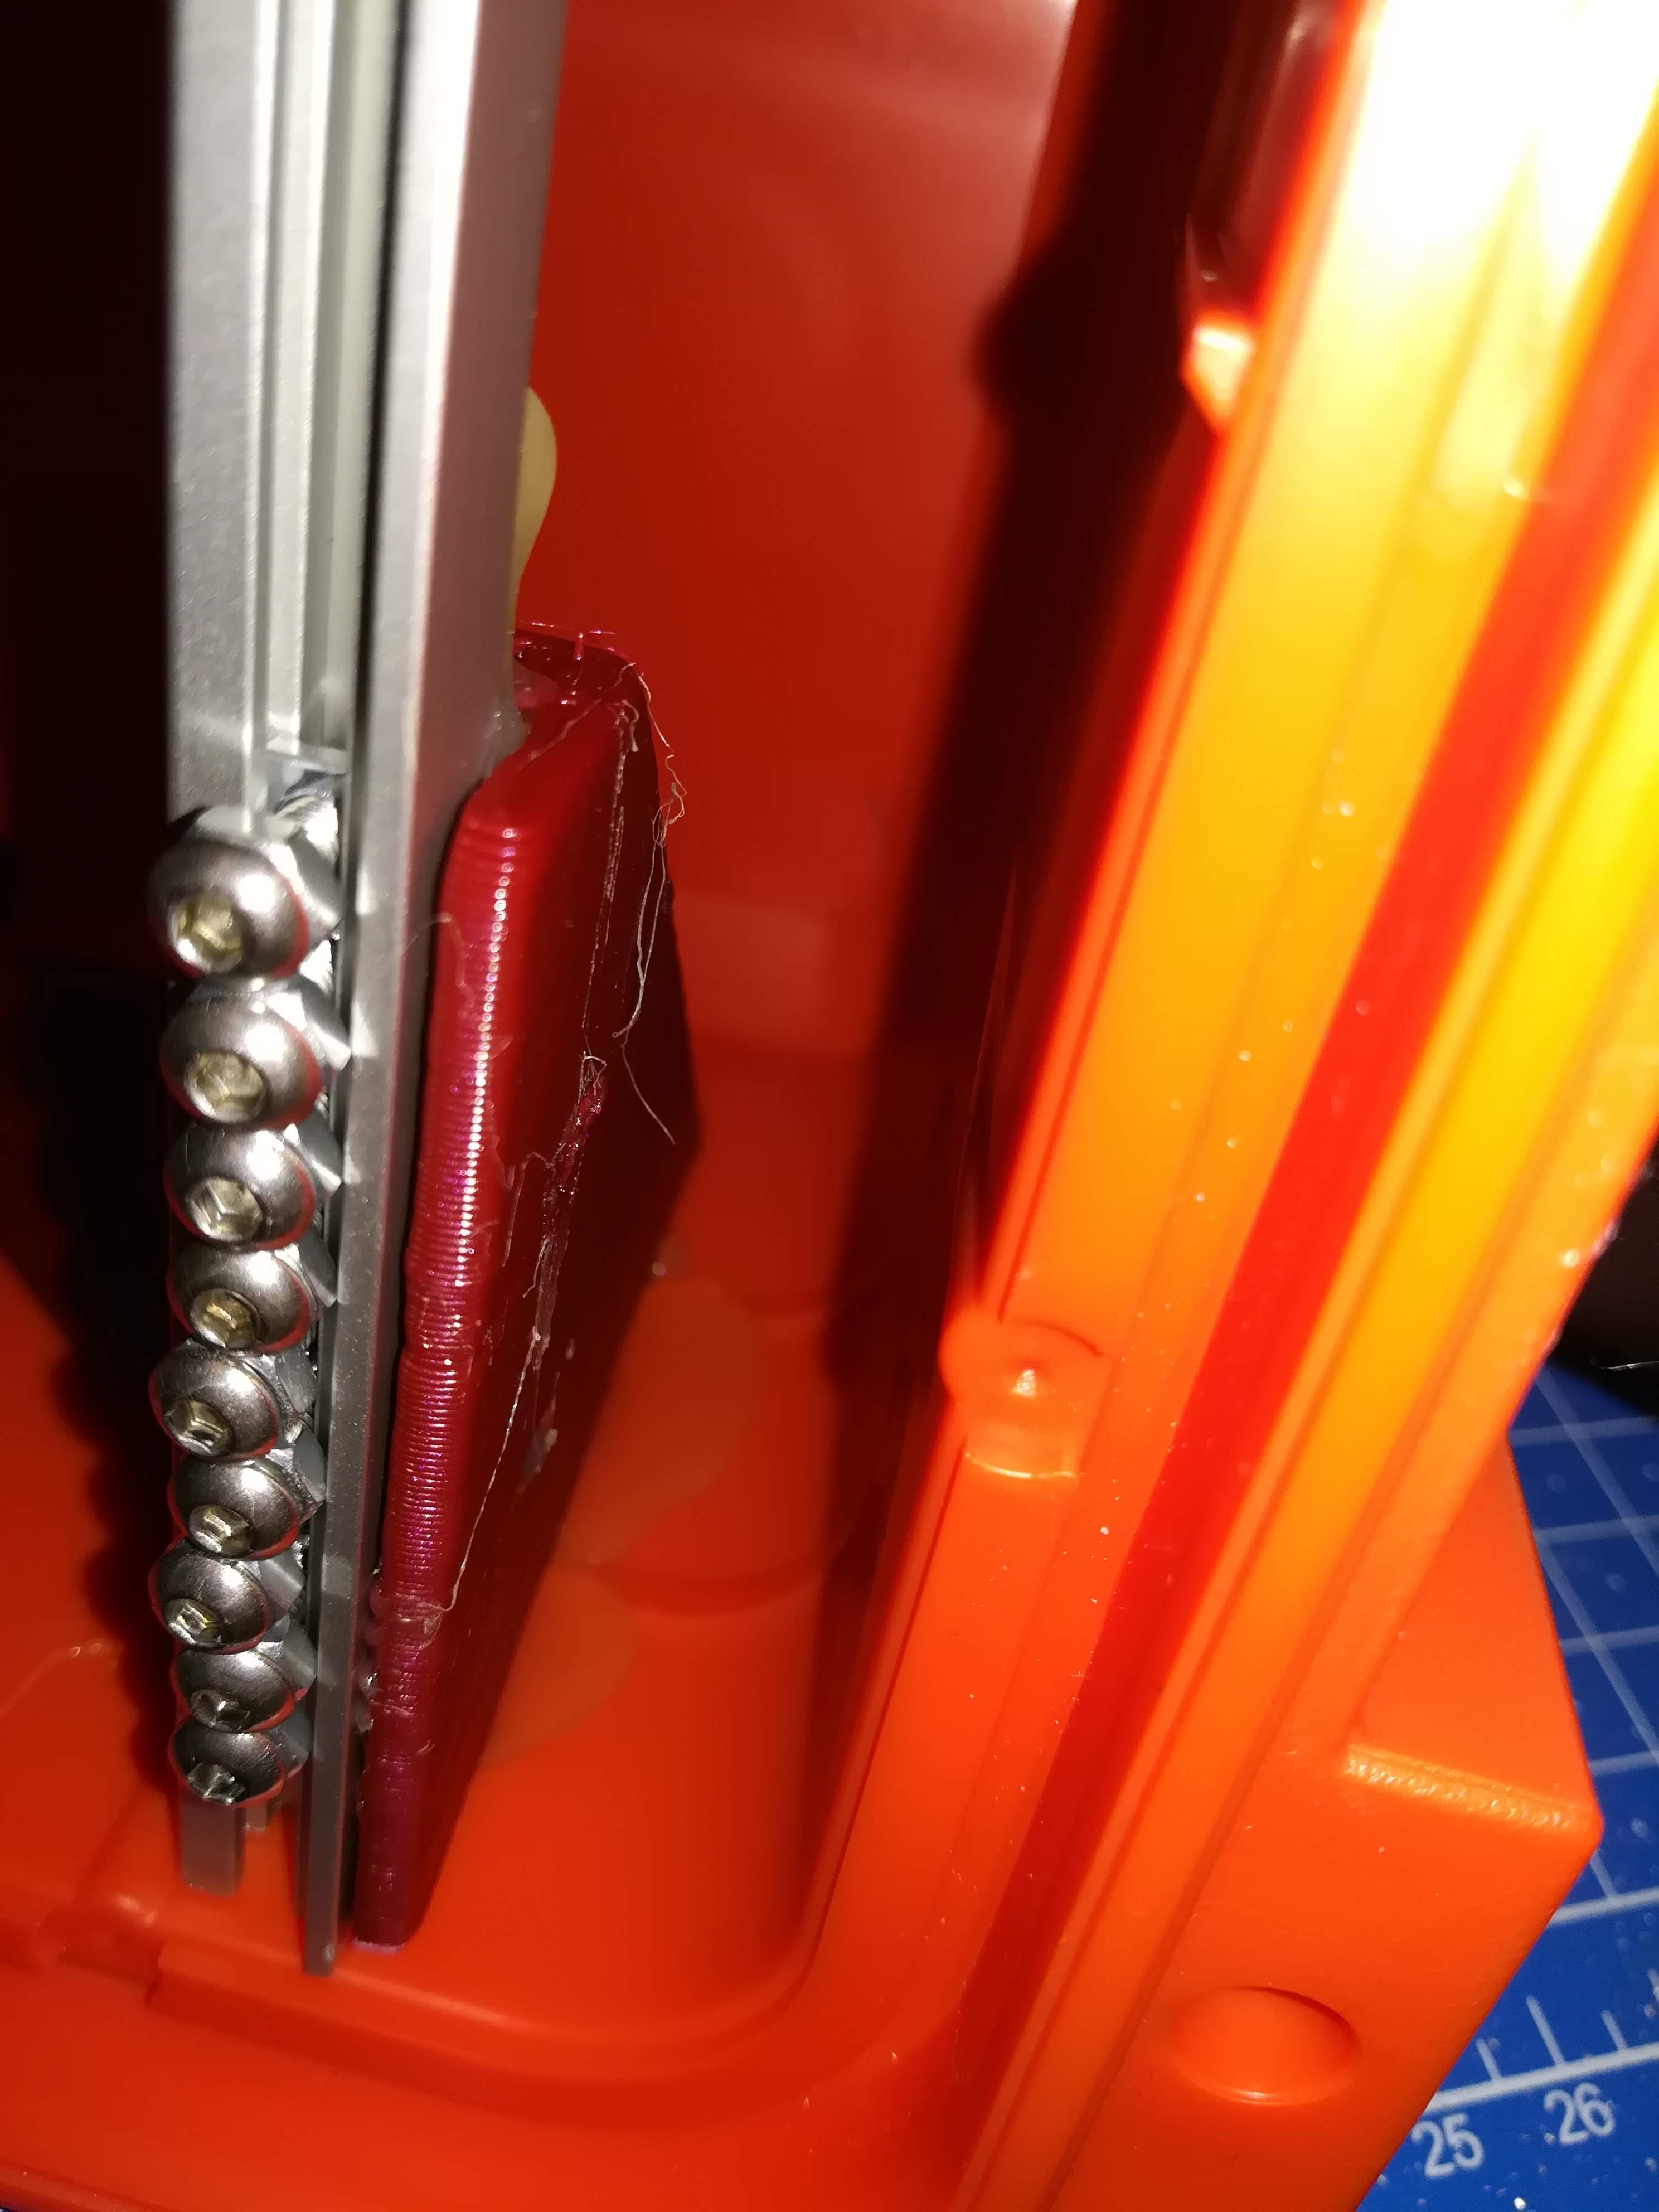
My first design goes around the rail and could be glued extremely secure in place. You can see the channels for the glue on the back and the little holes for the glue to go through (On the channels to glue in inside the case and on the rail to glue the rail)

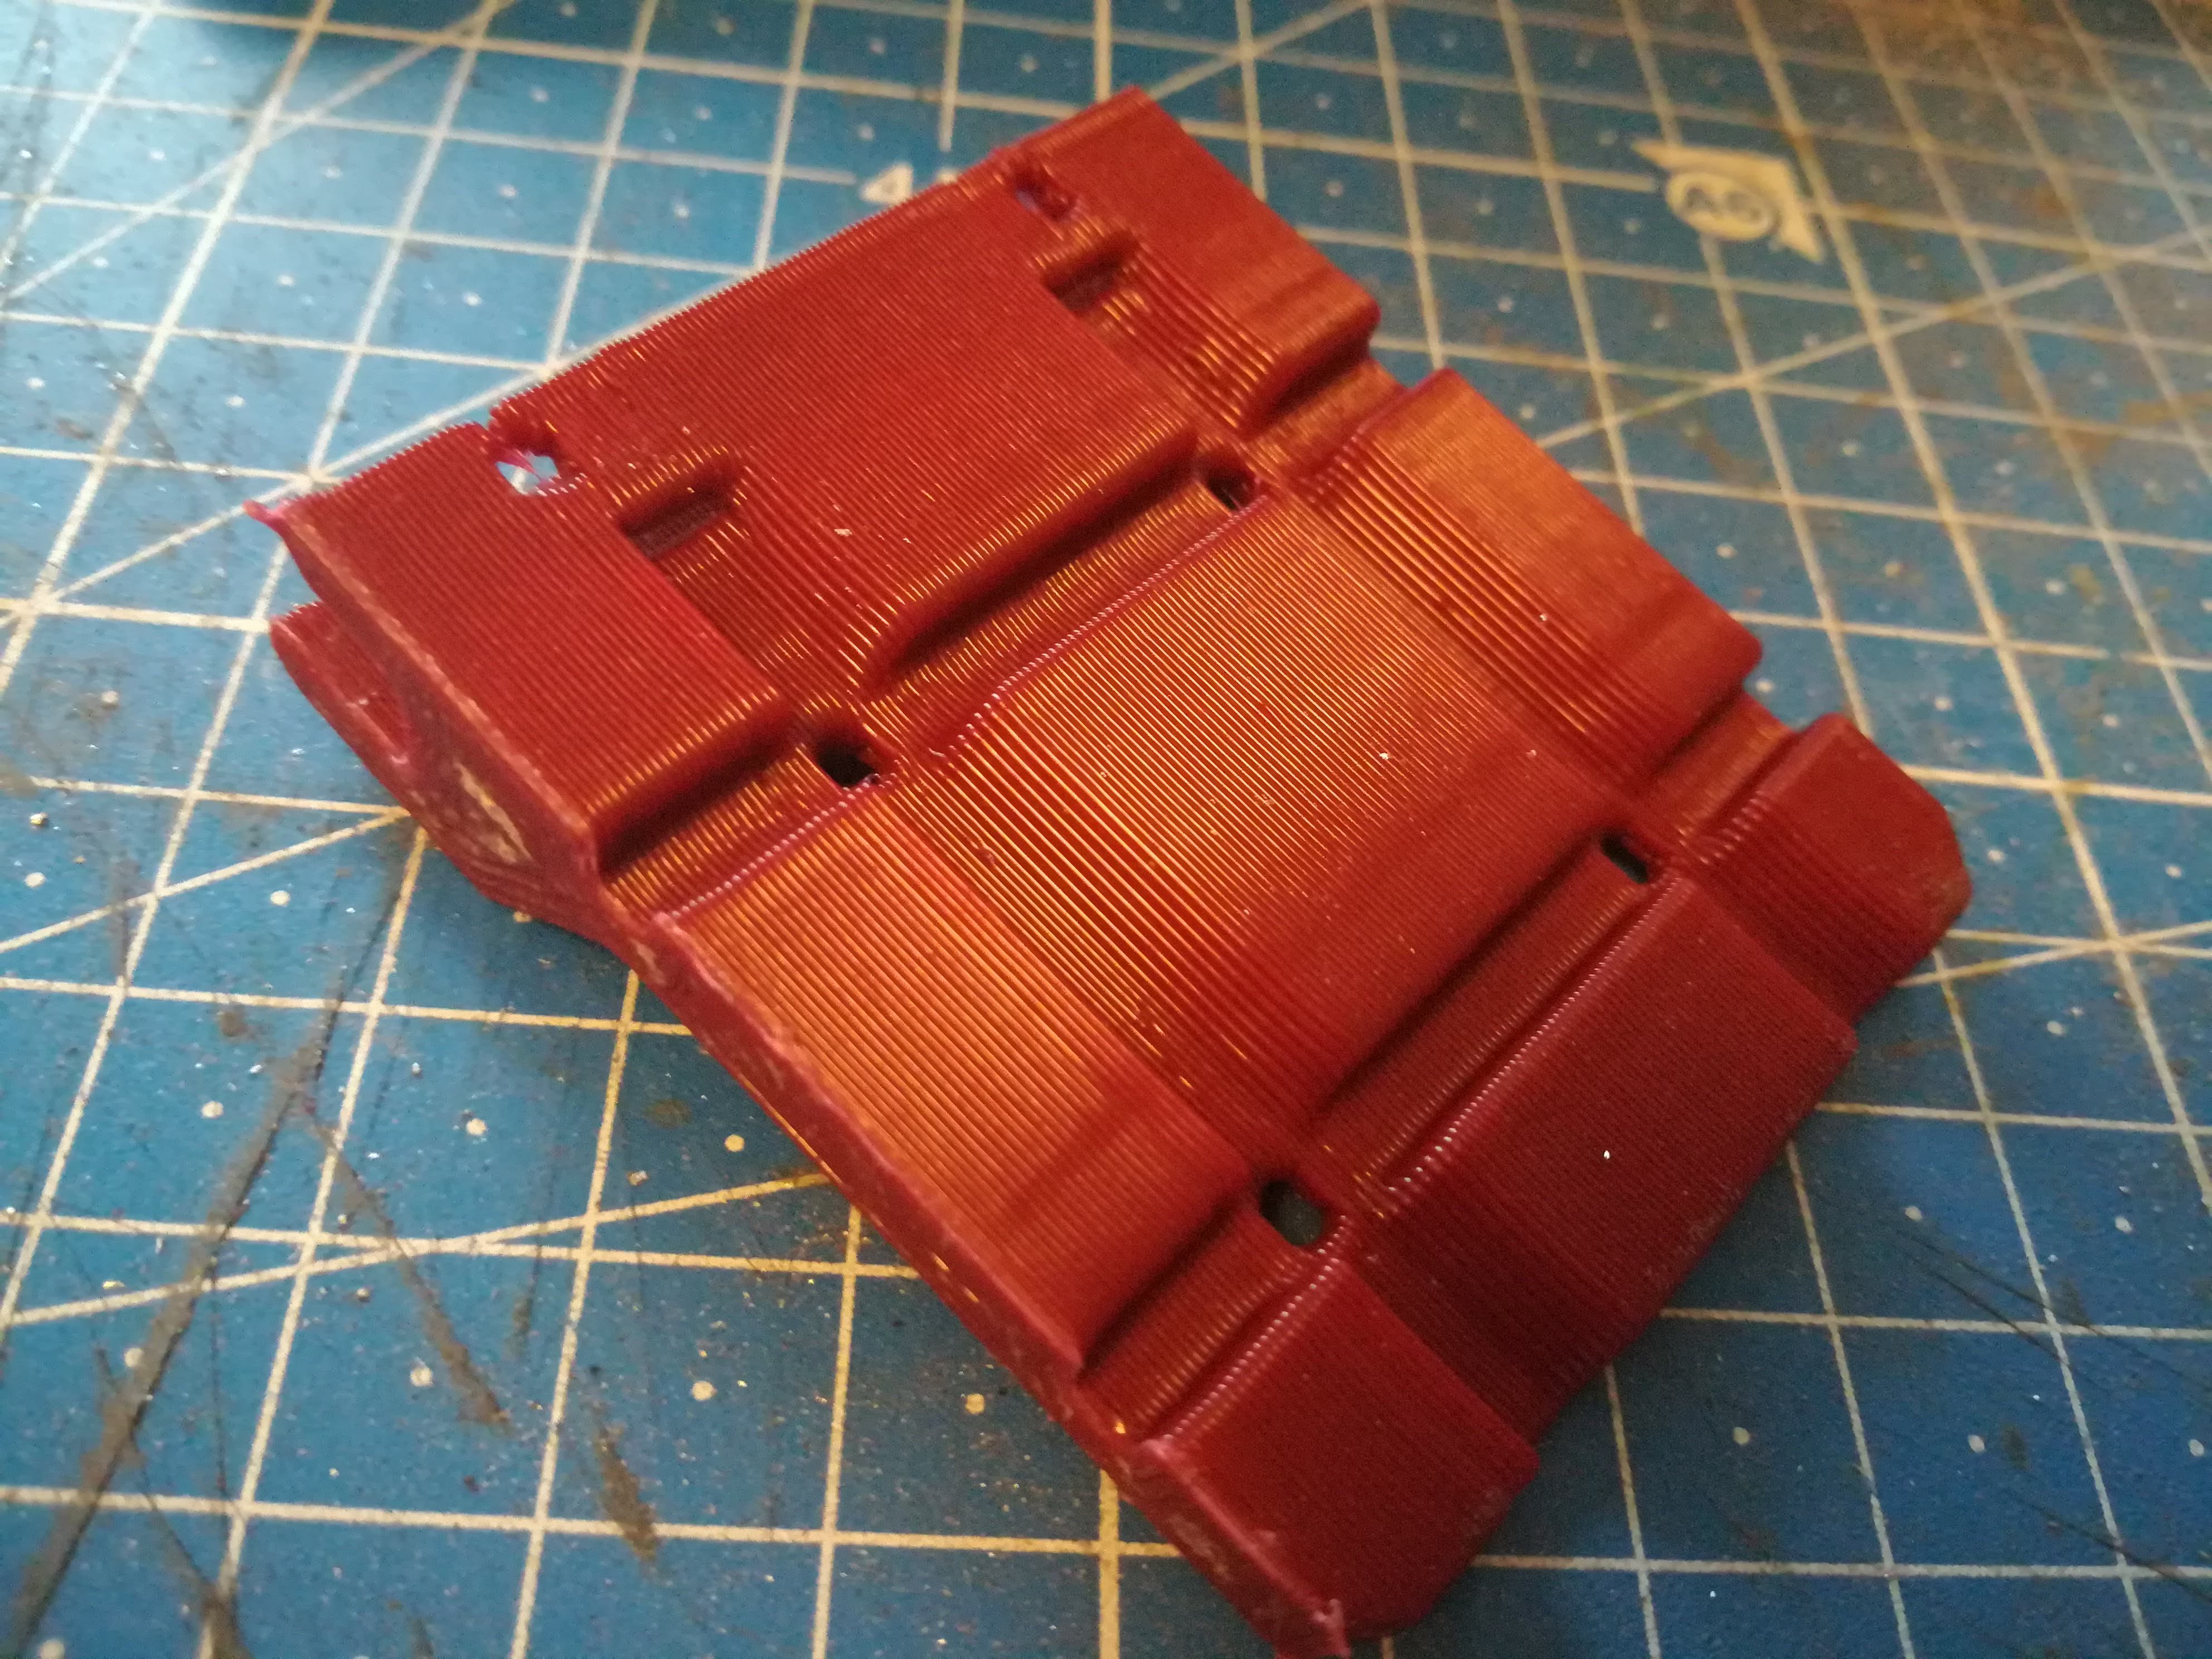
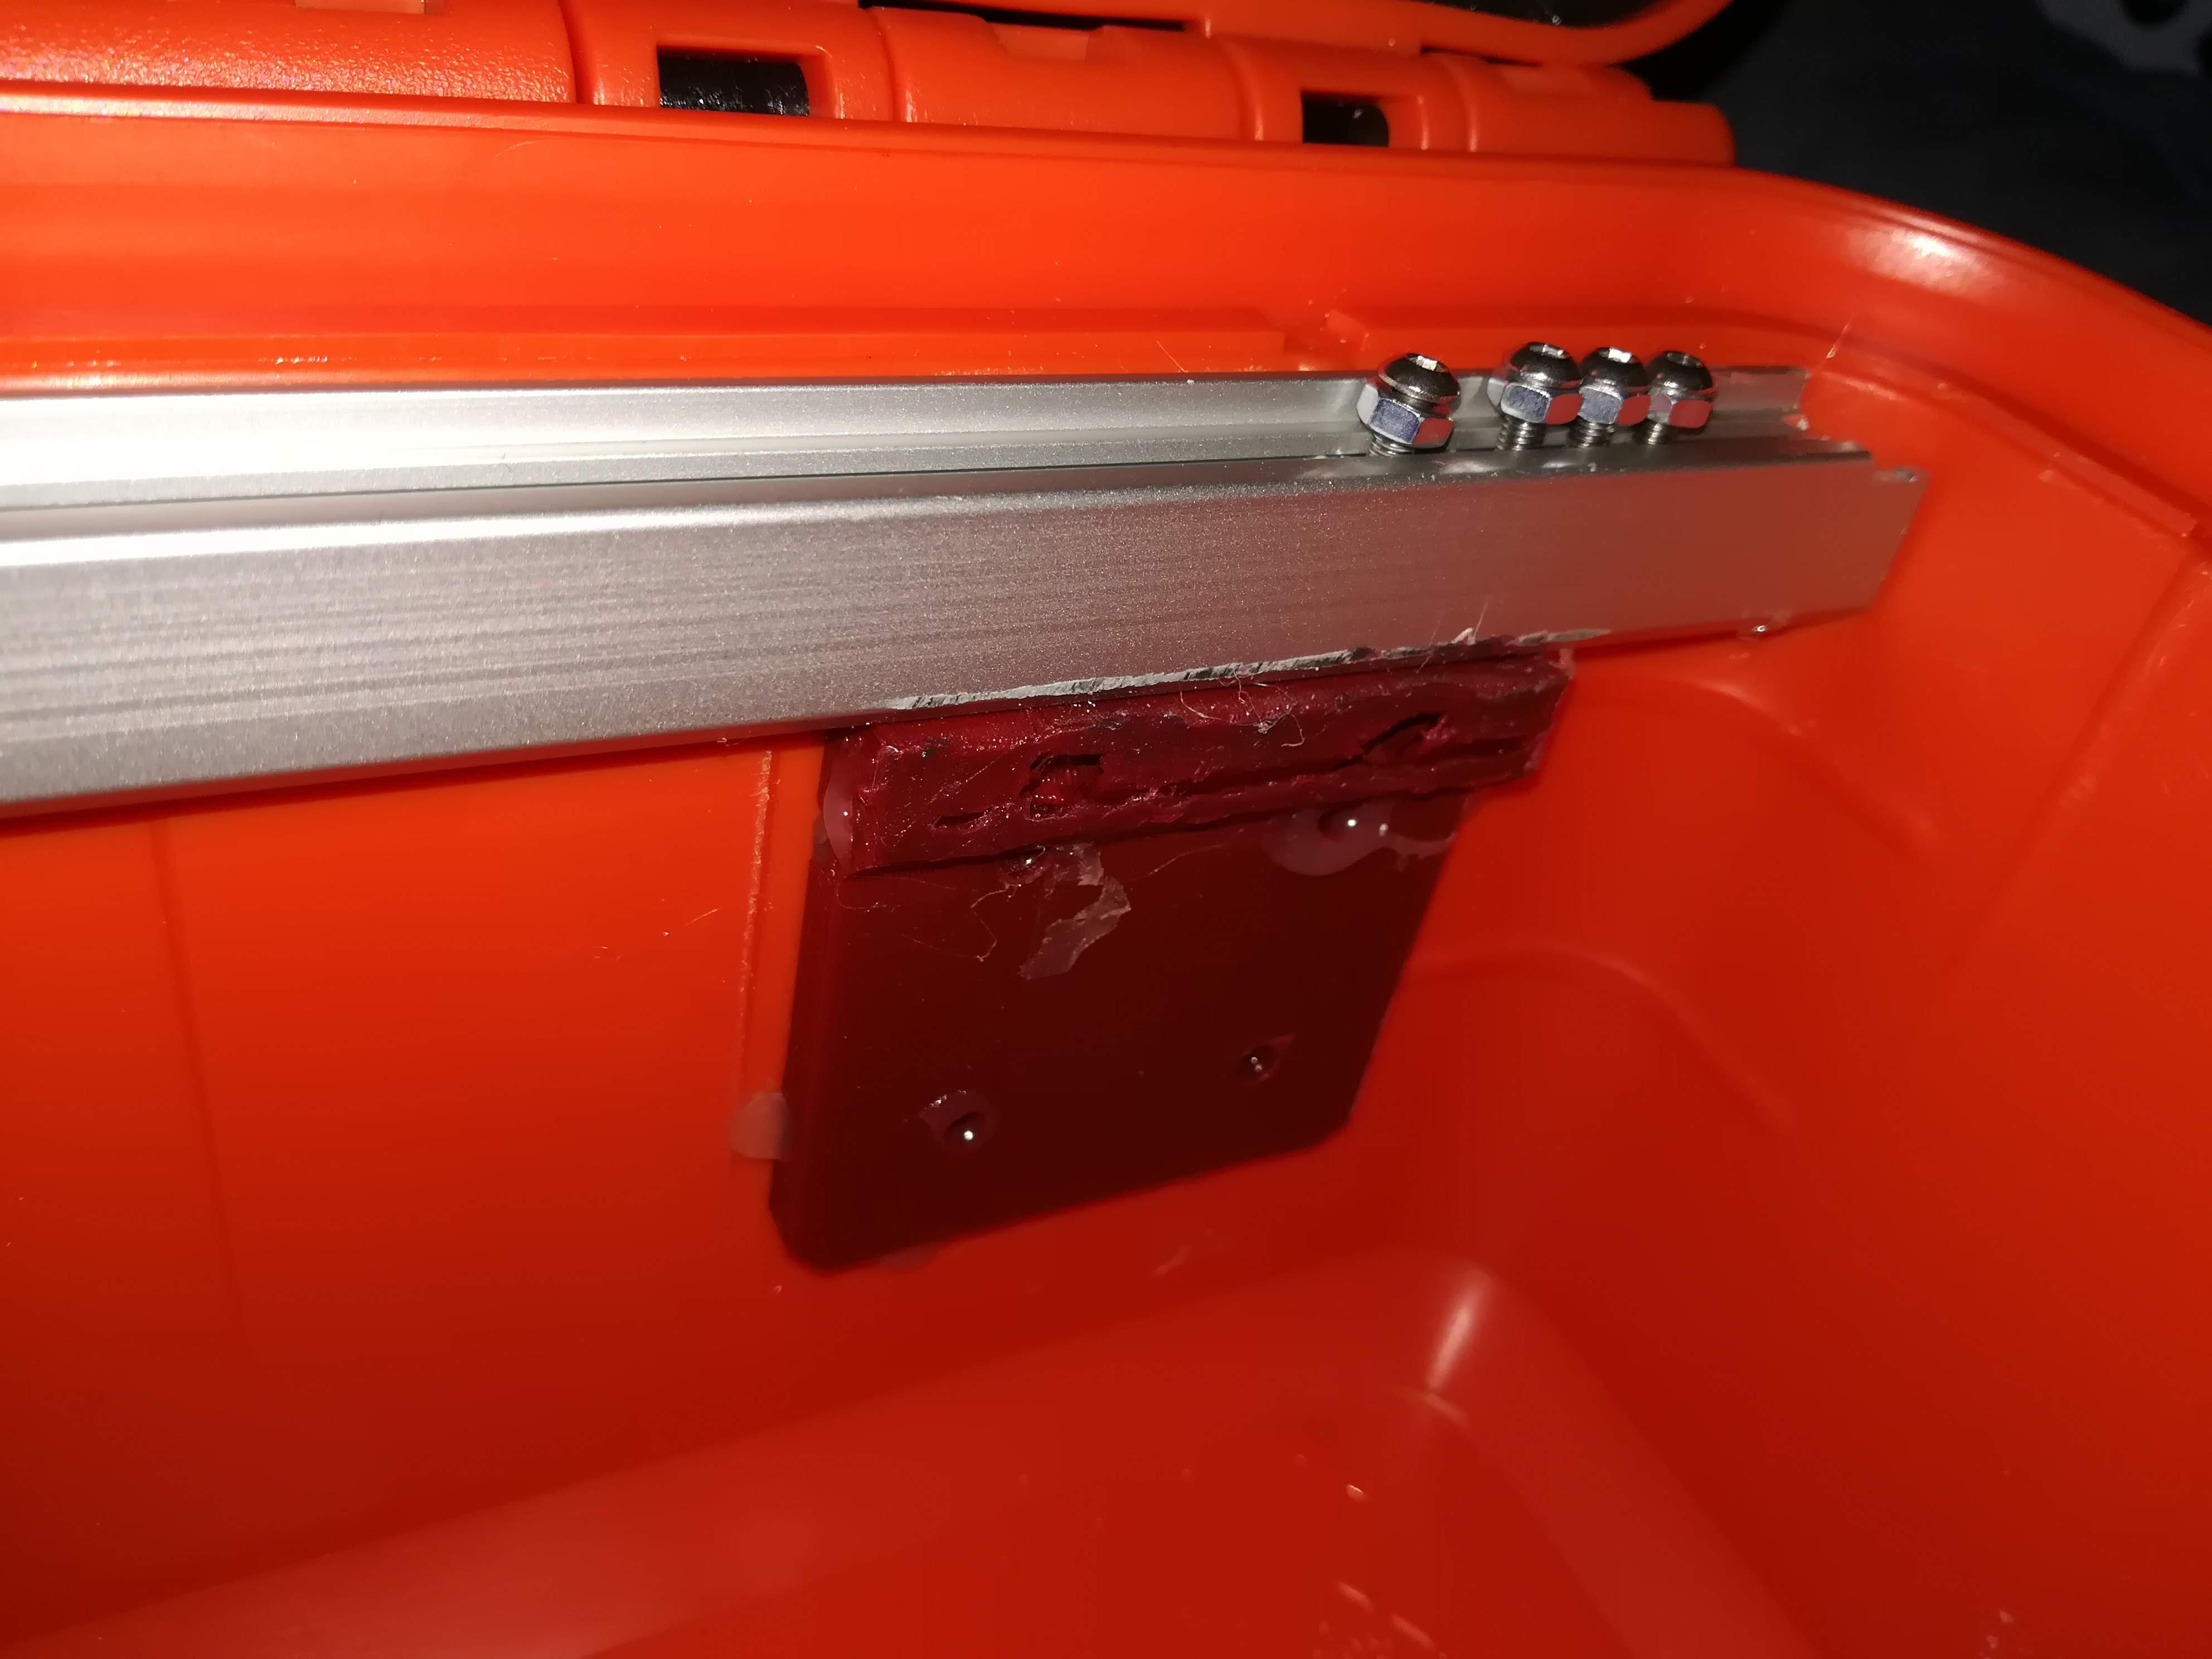
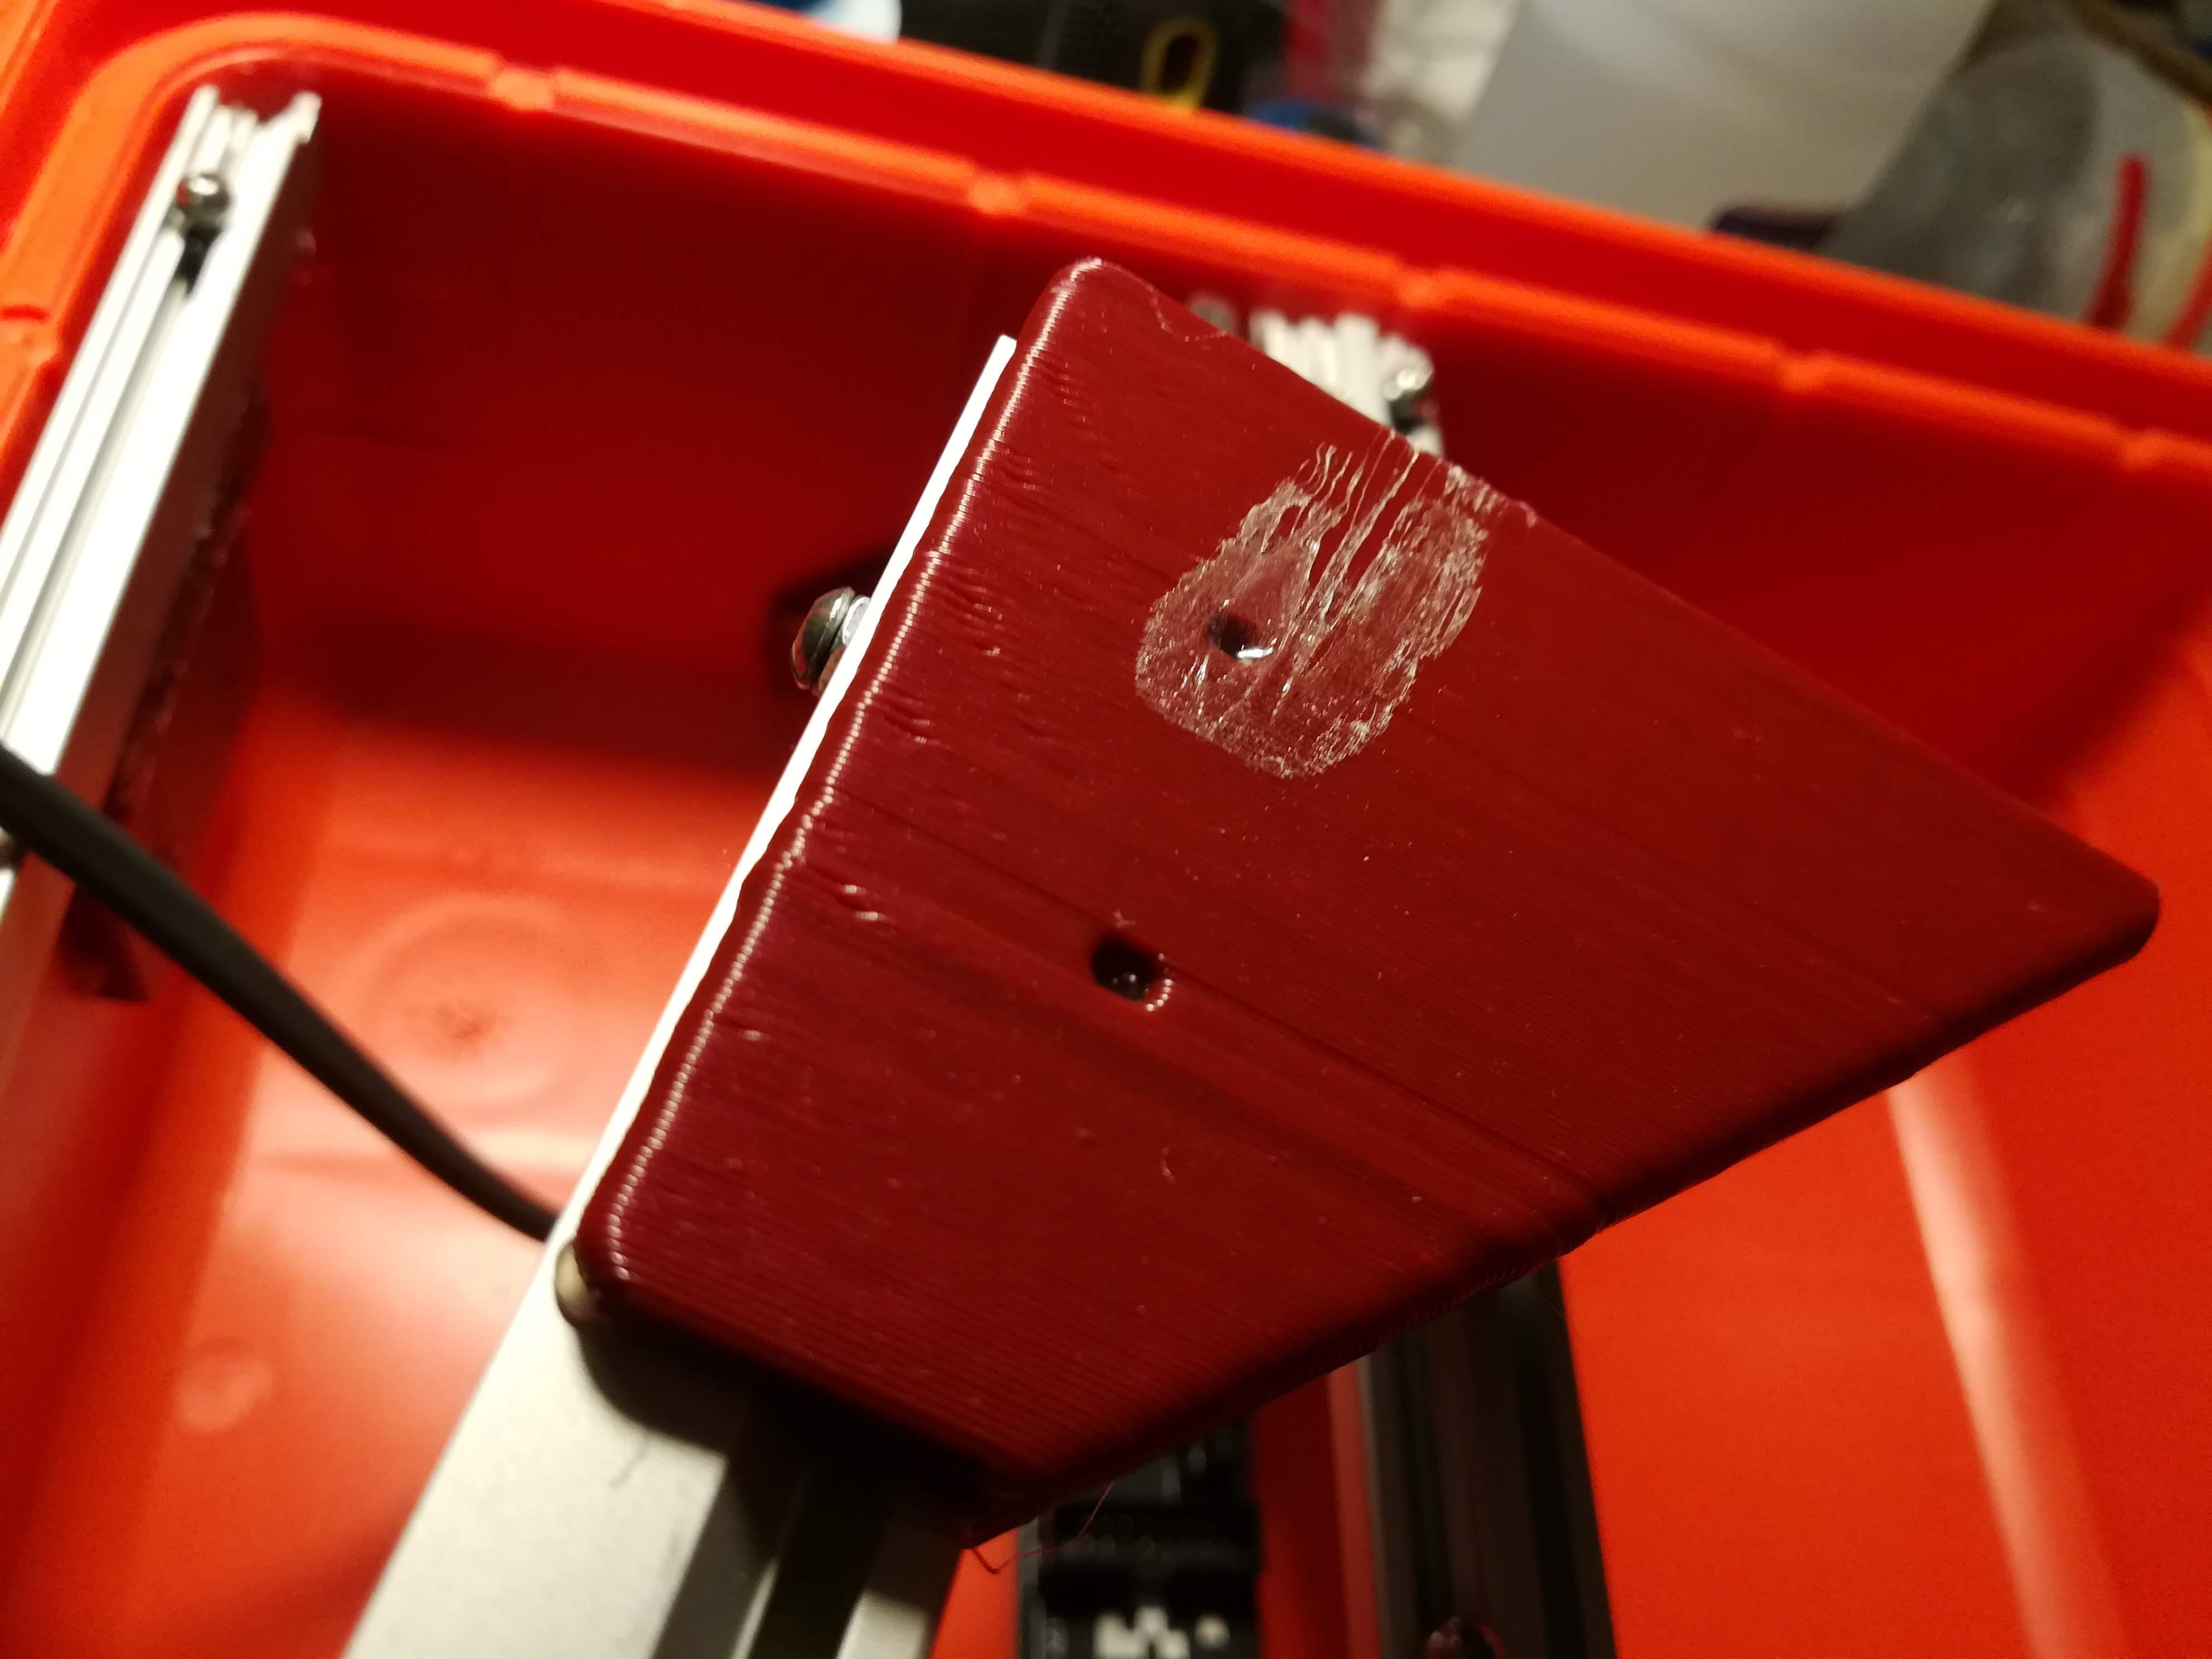
You can see that the printed design is a little different from the computer model. I changed it later to a correct one. After I installed the rail into the case, I realized that the plastic has to finish at the edge of the rail, or it will interfere with the modules.
I had already glued the rails to the case, so I had to change the 3D printed parts. I took a big utility knife and heated it up over a hot air gun and cut the protruding part away. Not pretty but it worked (and in real live it doesn't look this messy).
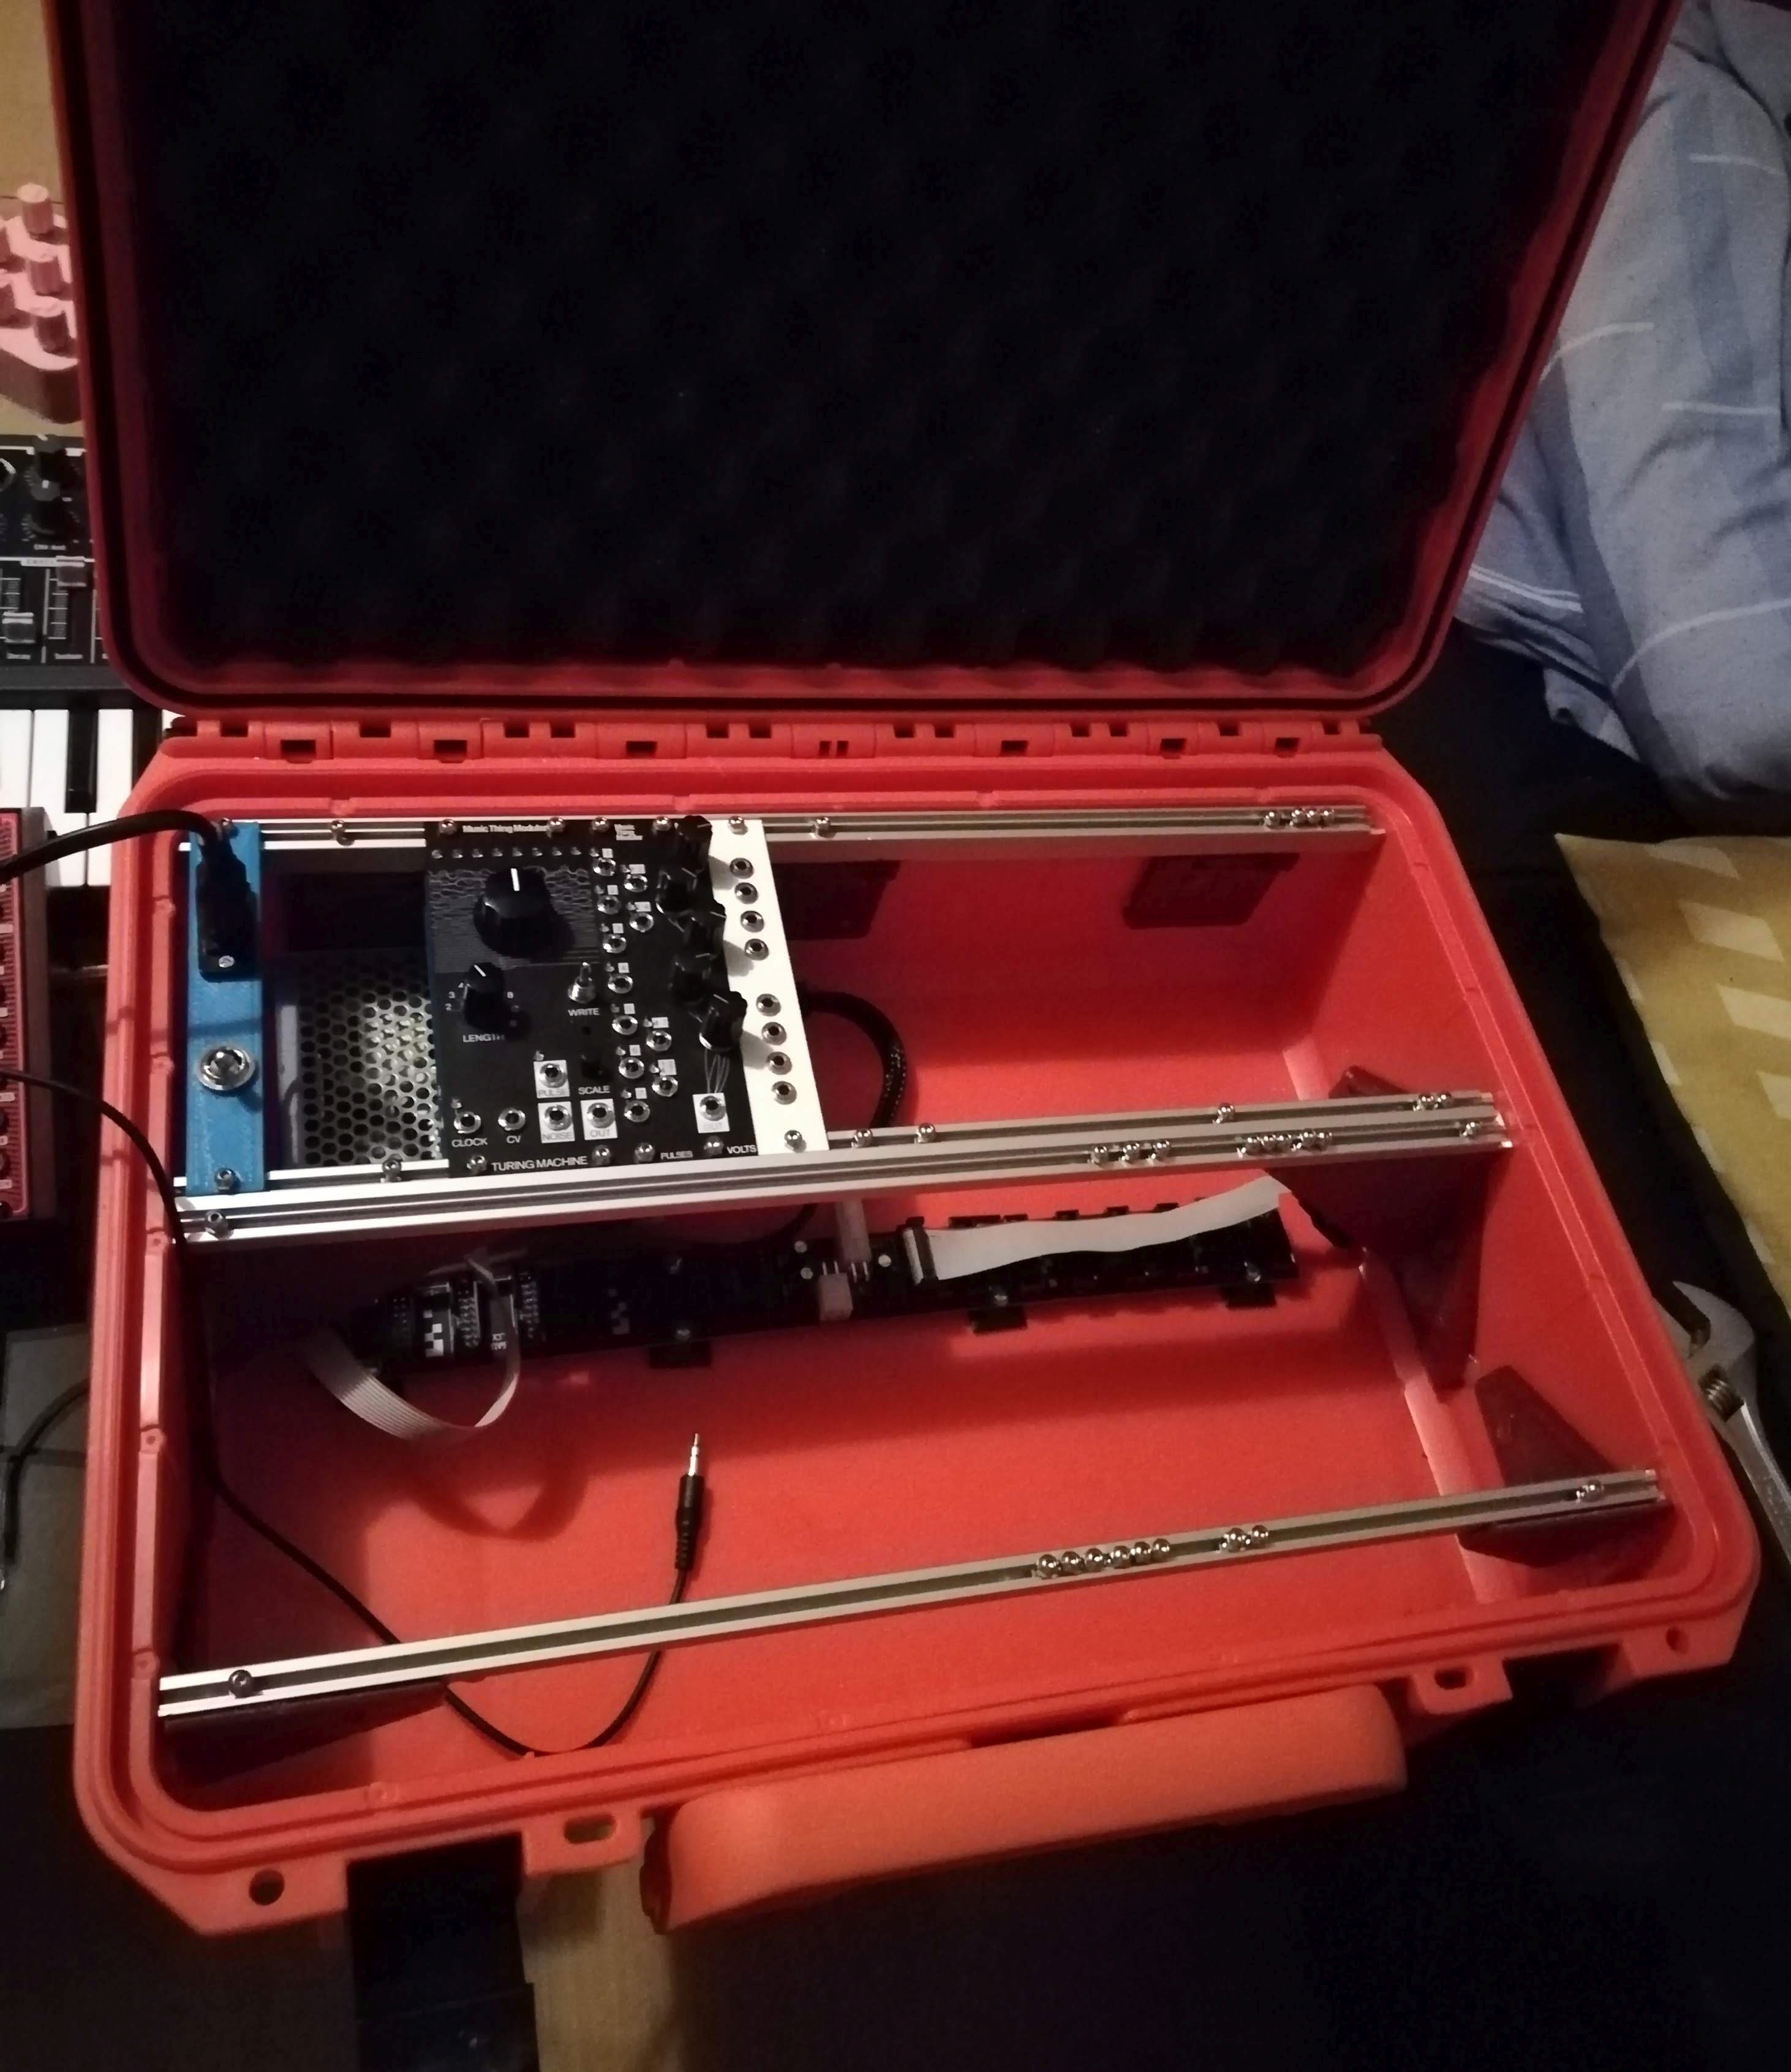
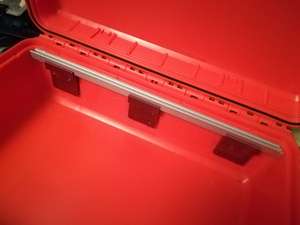
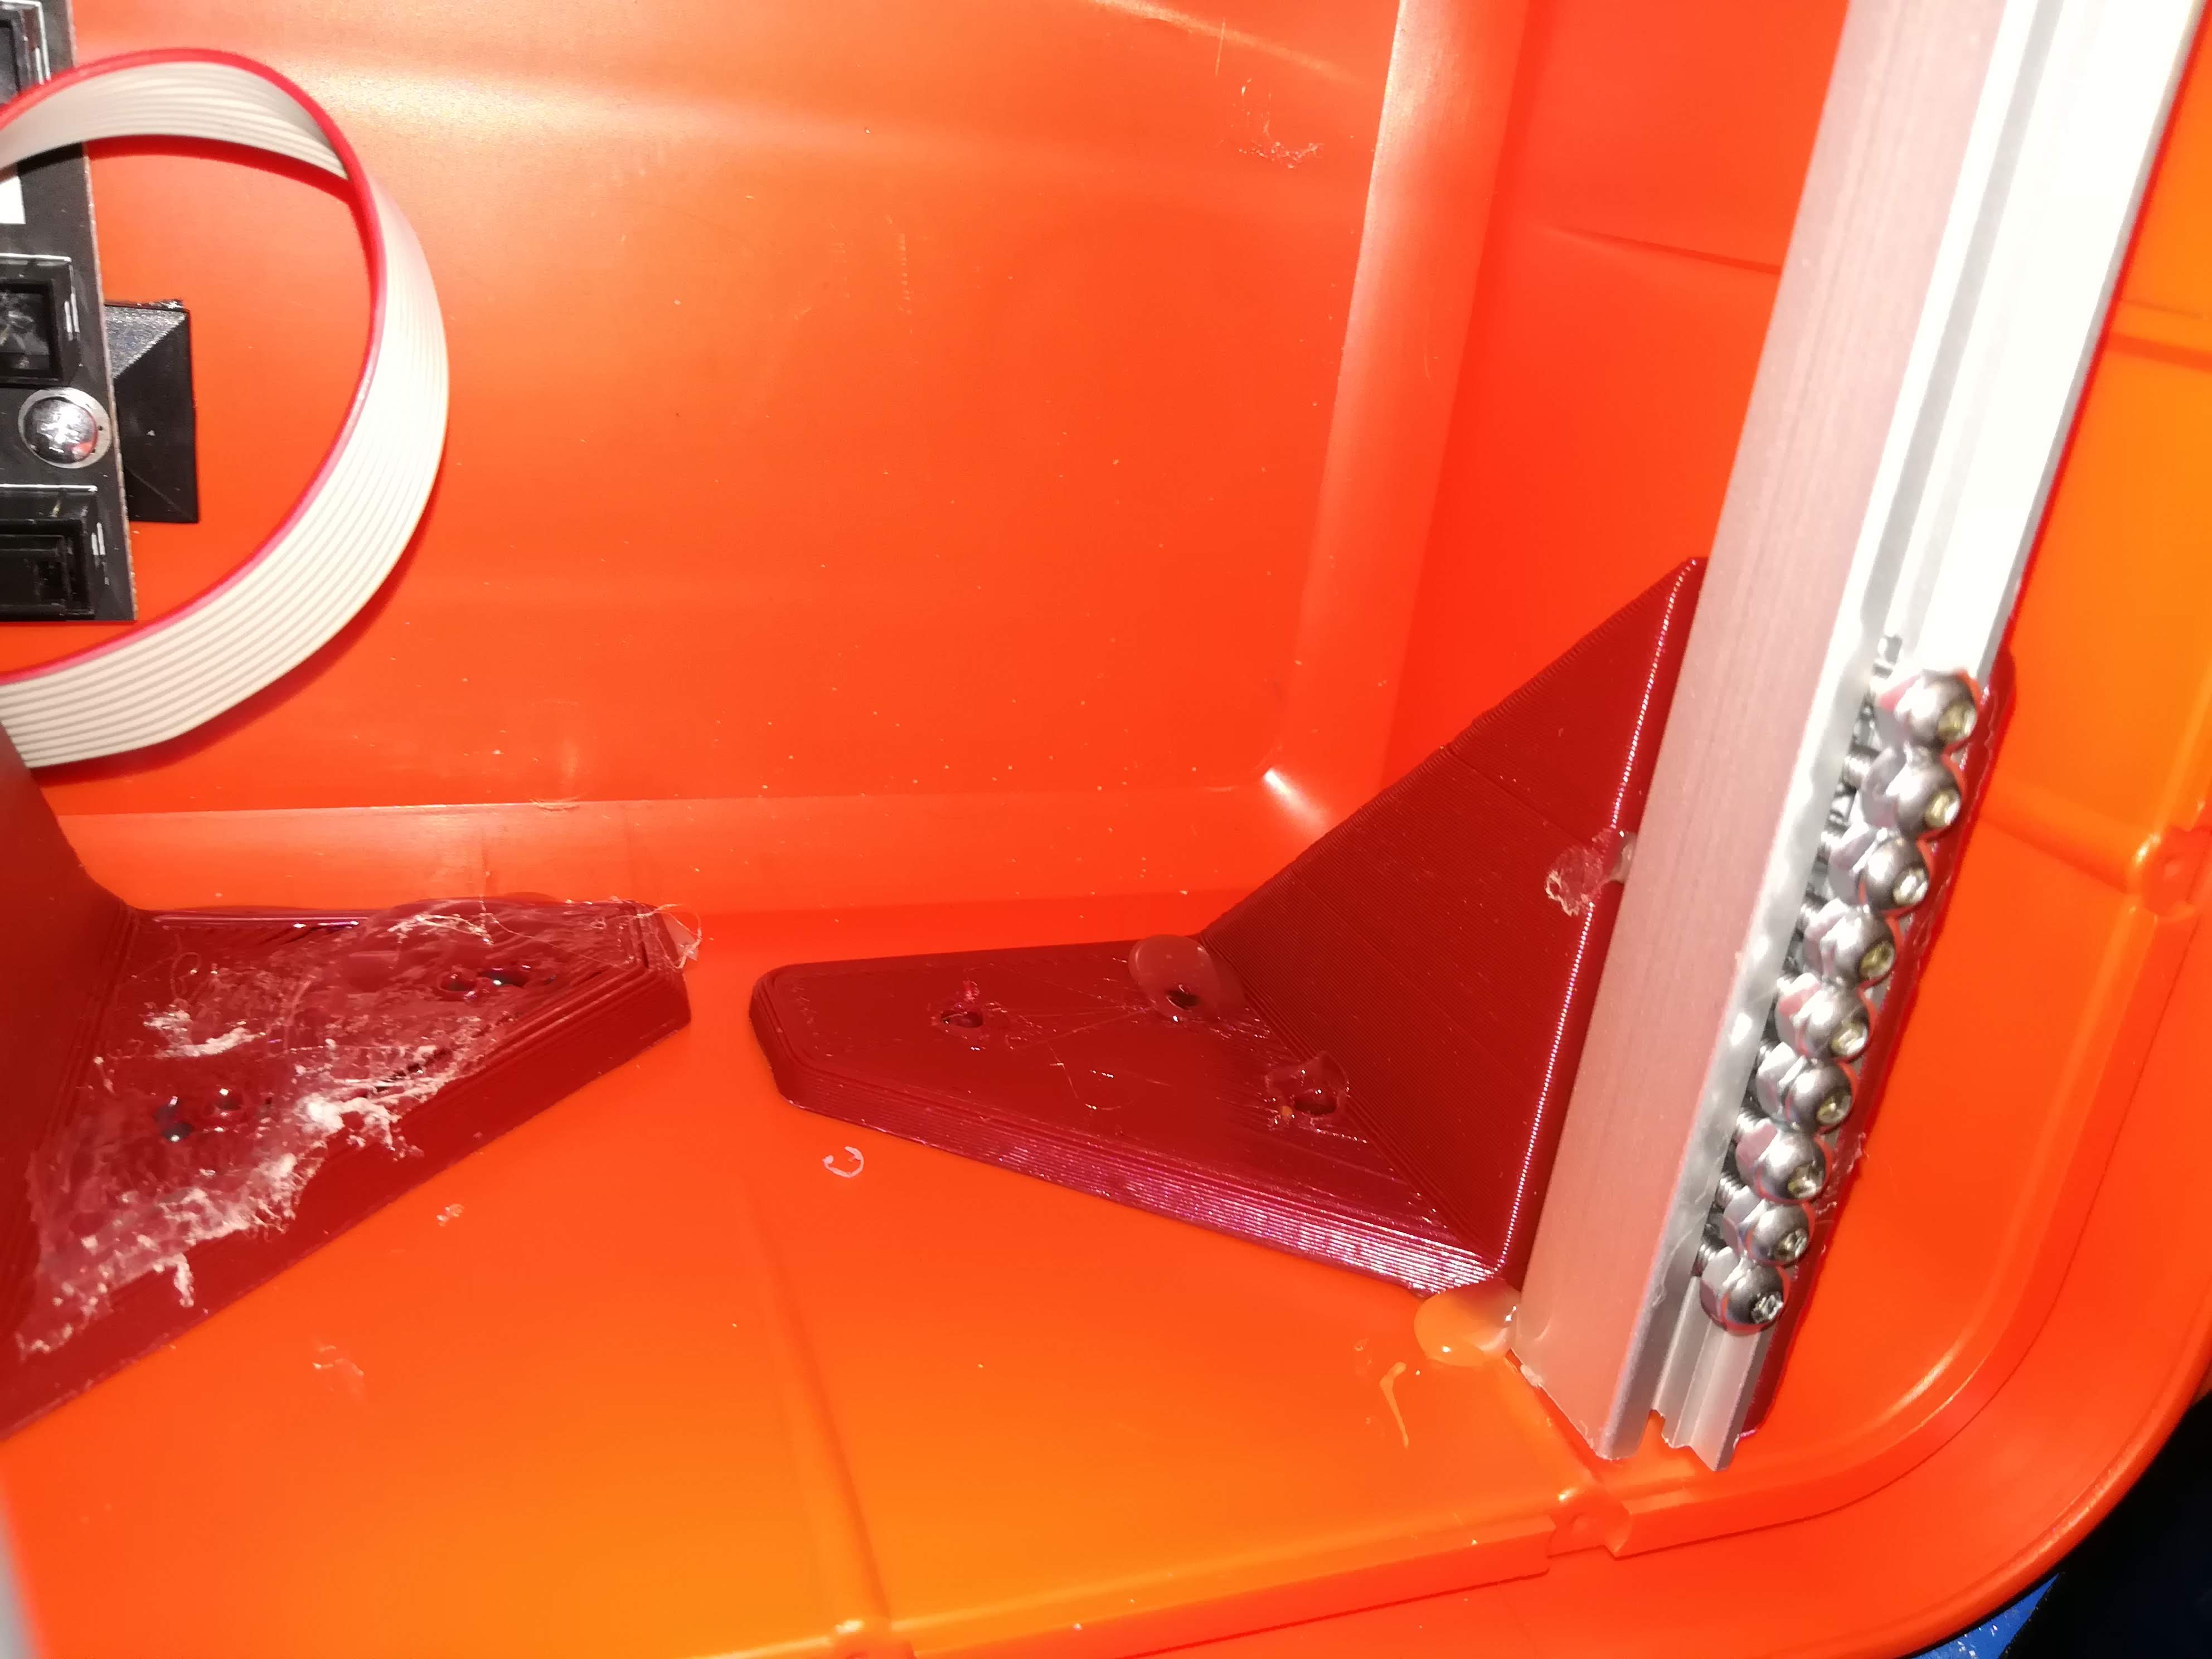
Double rail in the middle
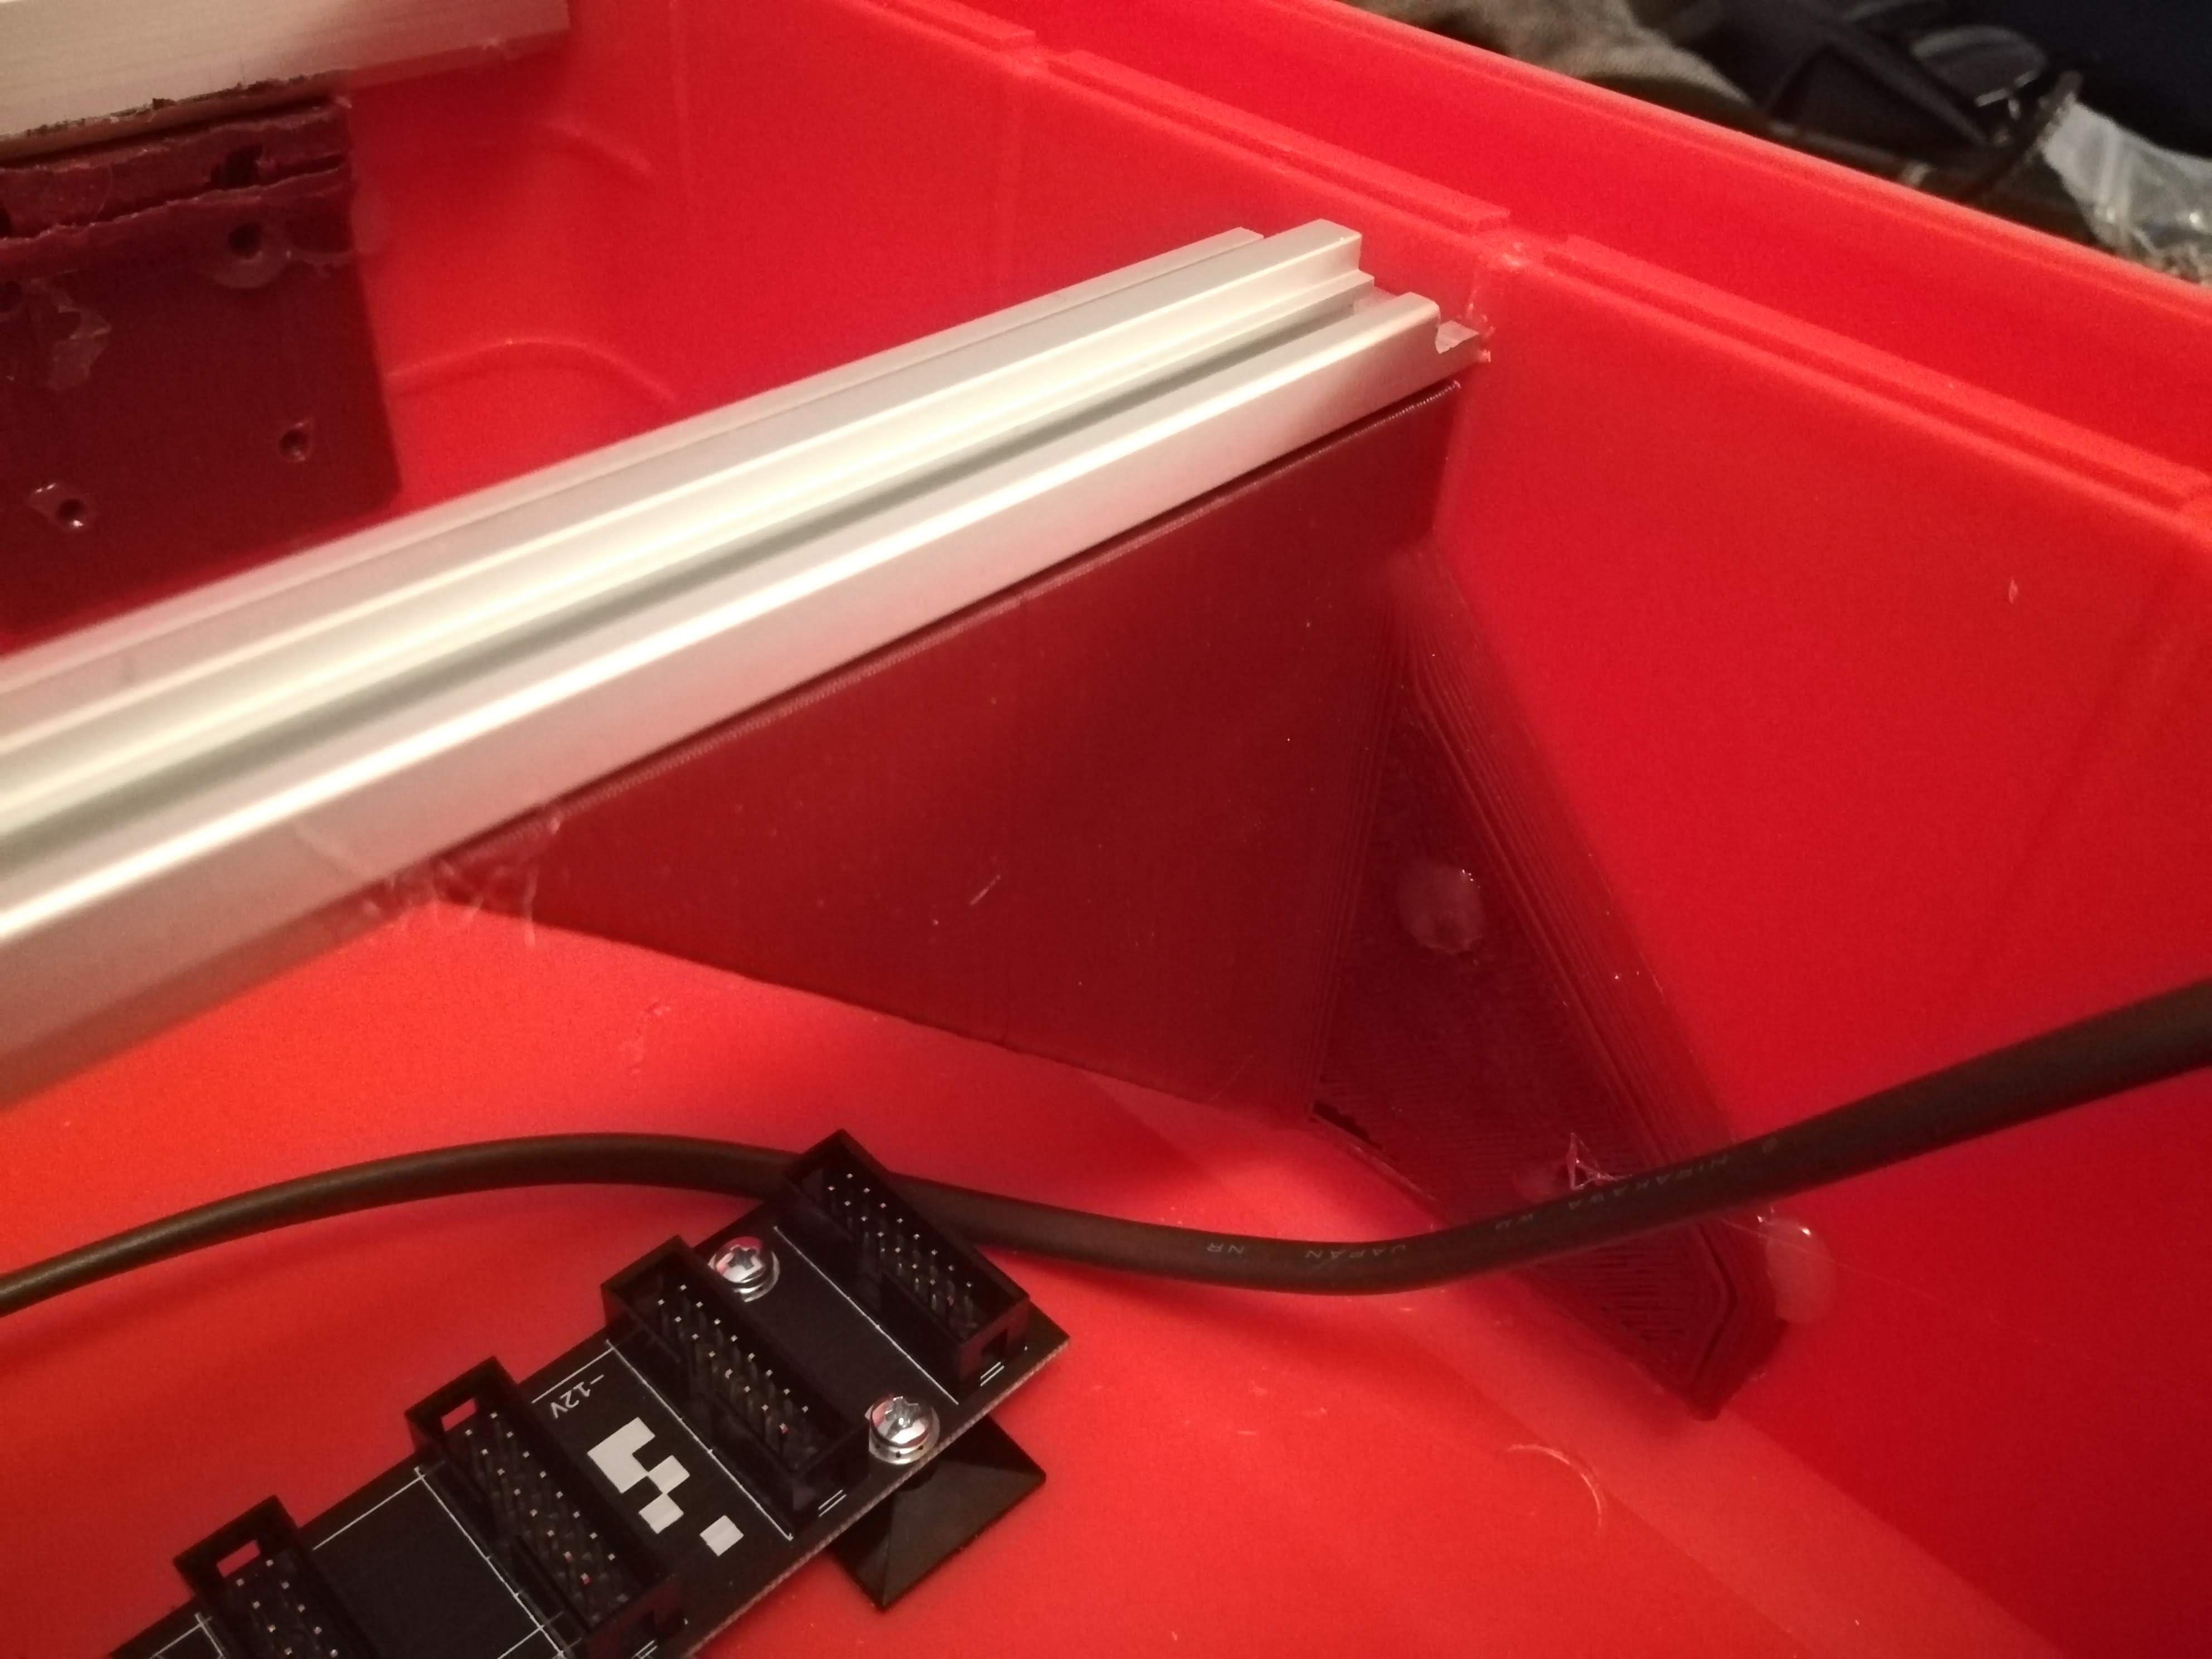
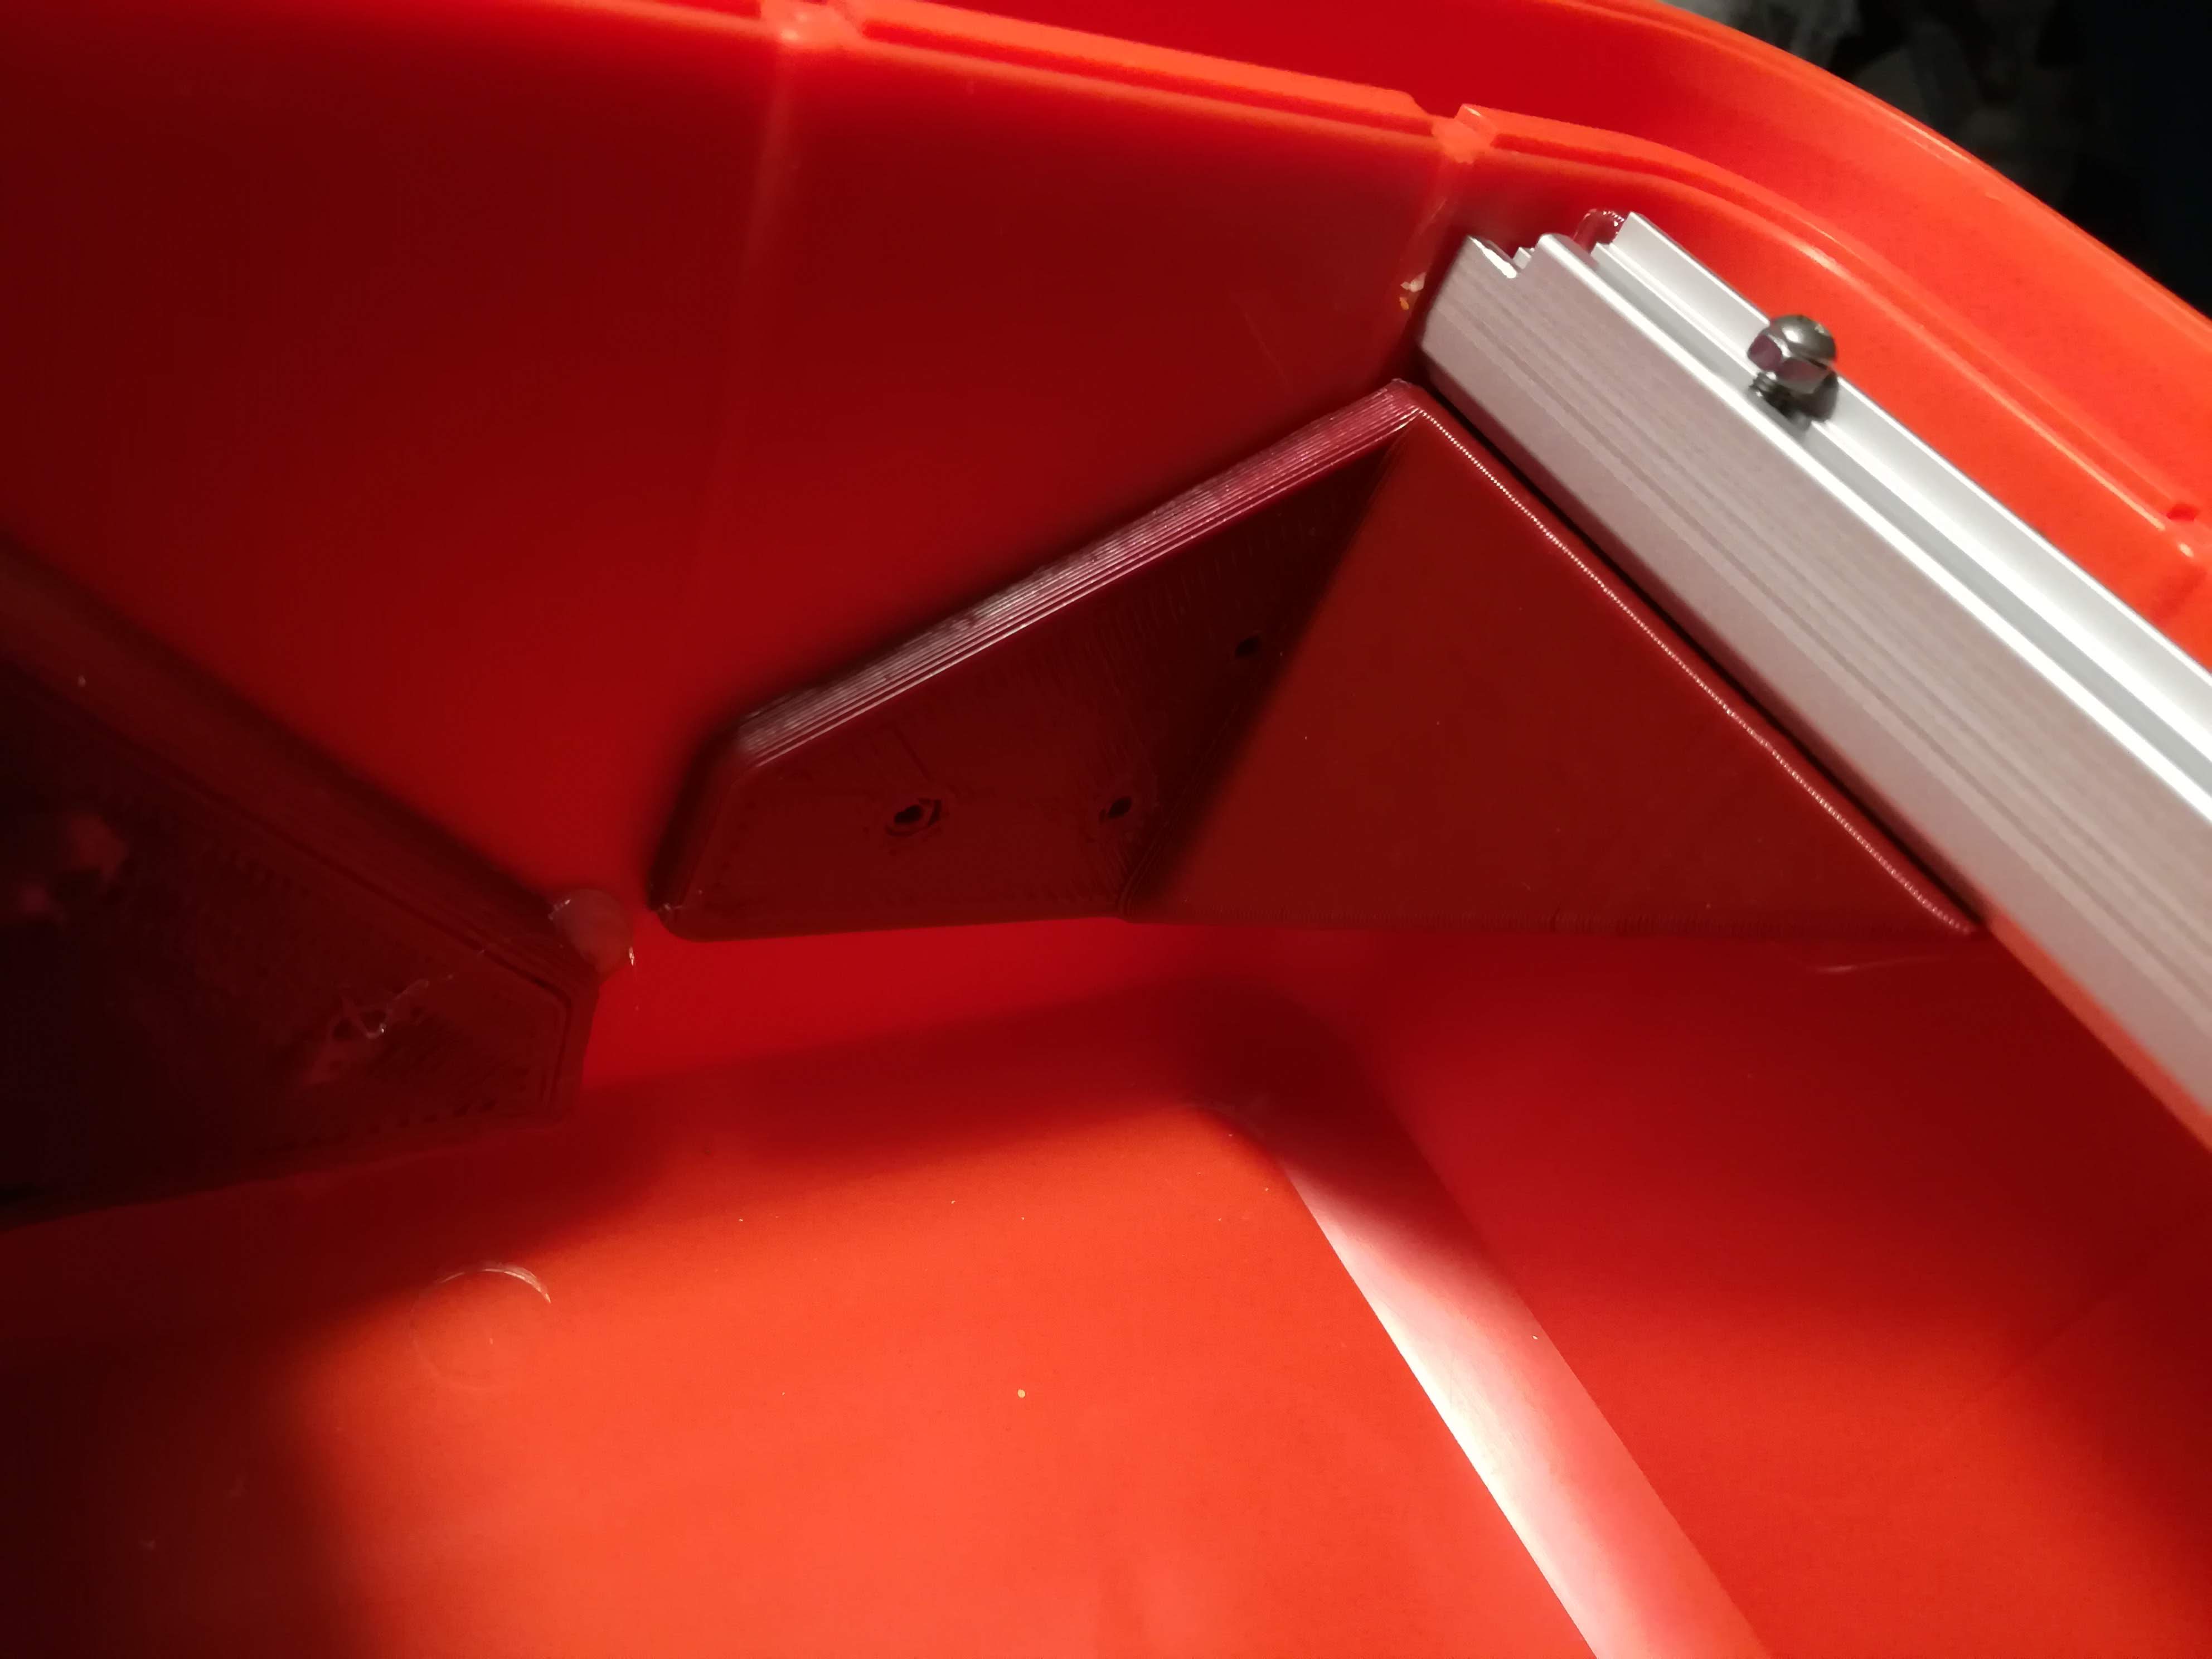
The double rail in the middle could only be supported at the ends. I made two pieces with just a plain channel on the top and a channel system in the back to be glued to the walls of the case.

I printed the part two times and glued them to the rail. After the glue was cold, I glued the whole assembly into the case. (I used two modules as spacers between the rails to get the correct distance)

Second single rail
This one has also be supported at the ends. There also has to be a left and a right mount, because we are near the corner of the case.


The mounts were glued to the rails. First a bit glue to the striped pattern on the top and then glue from the side into the rail.

The assembly was glue into place like the double rail.
Files for 3D printing
If you have a 3D printer you can download the STLs or the Fusion 360 files here: http://useless.blue/media/files/EurorackCaseRailMounts.zip
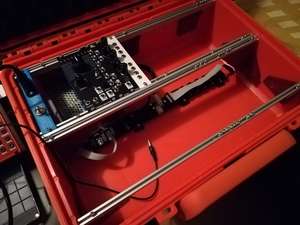
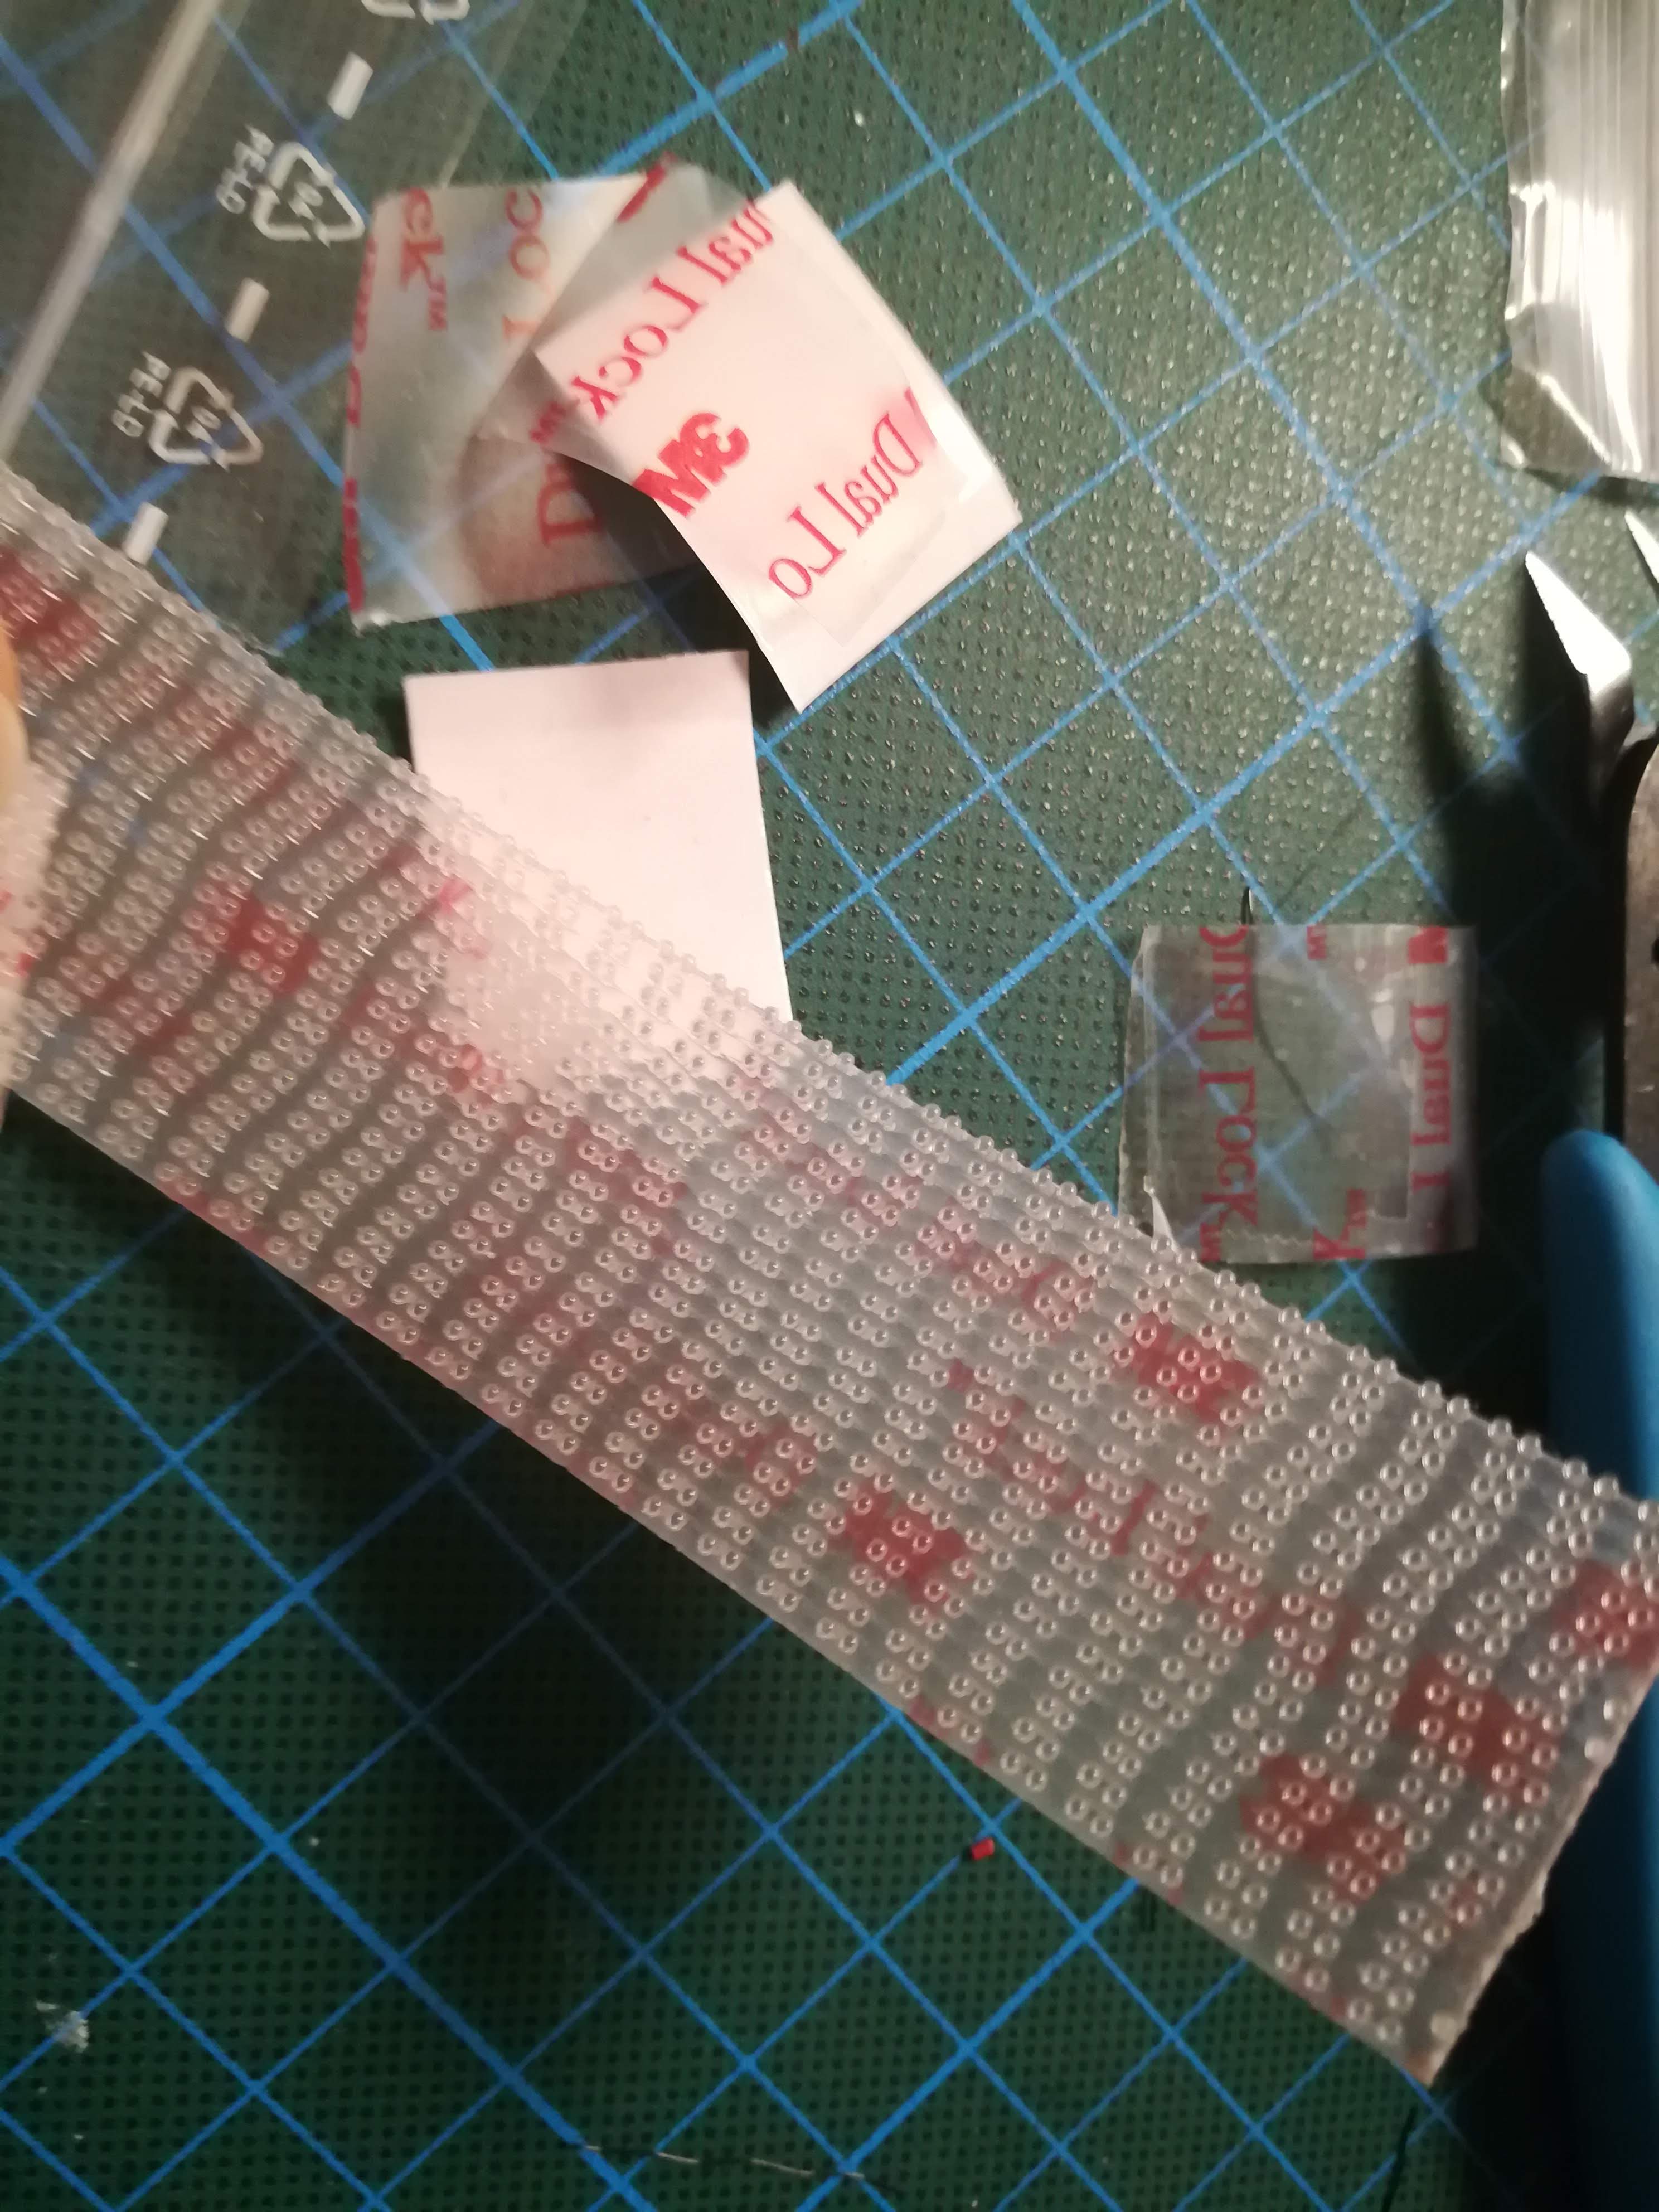
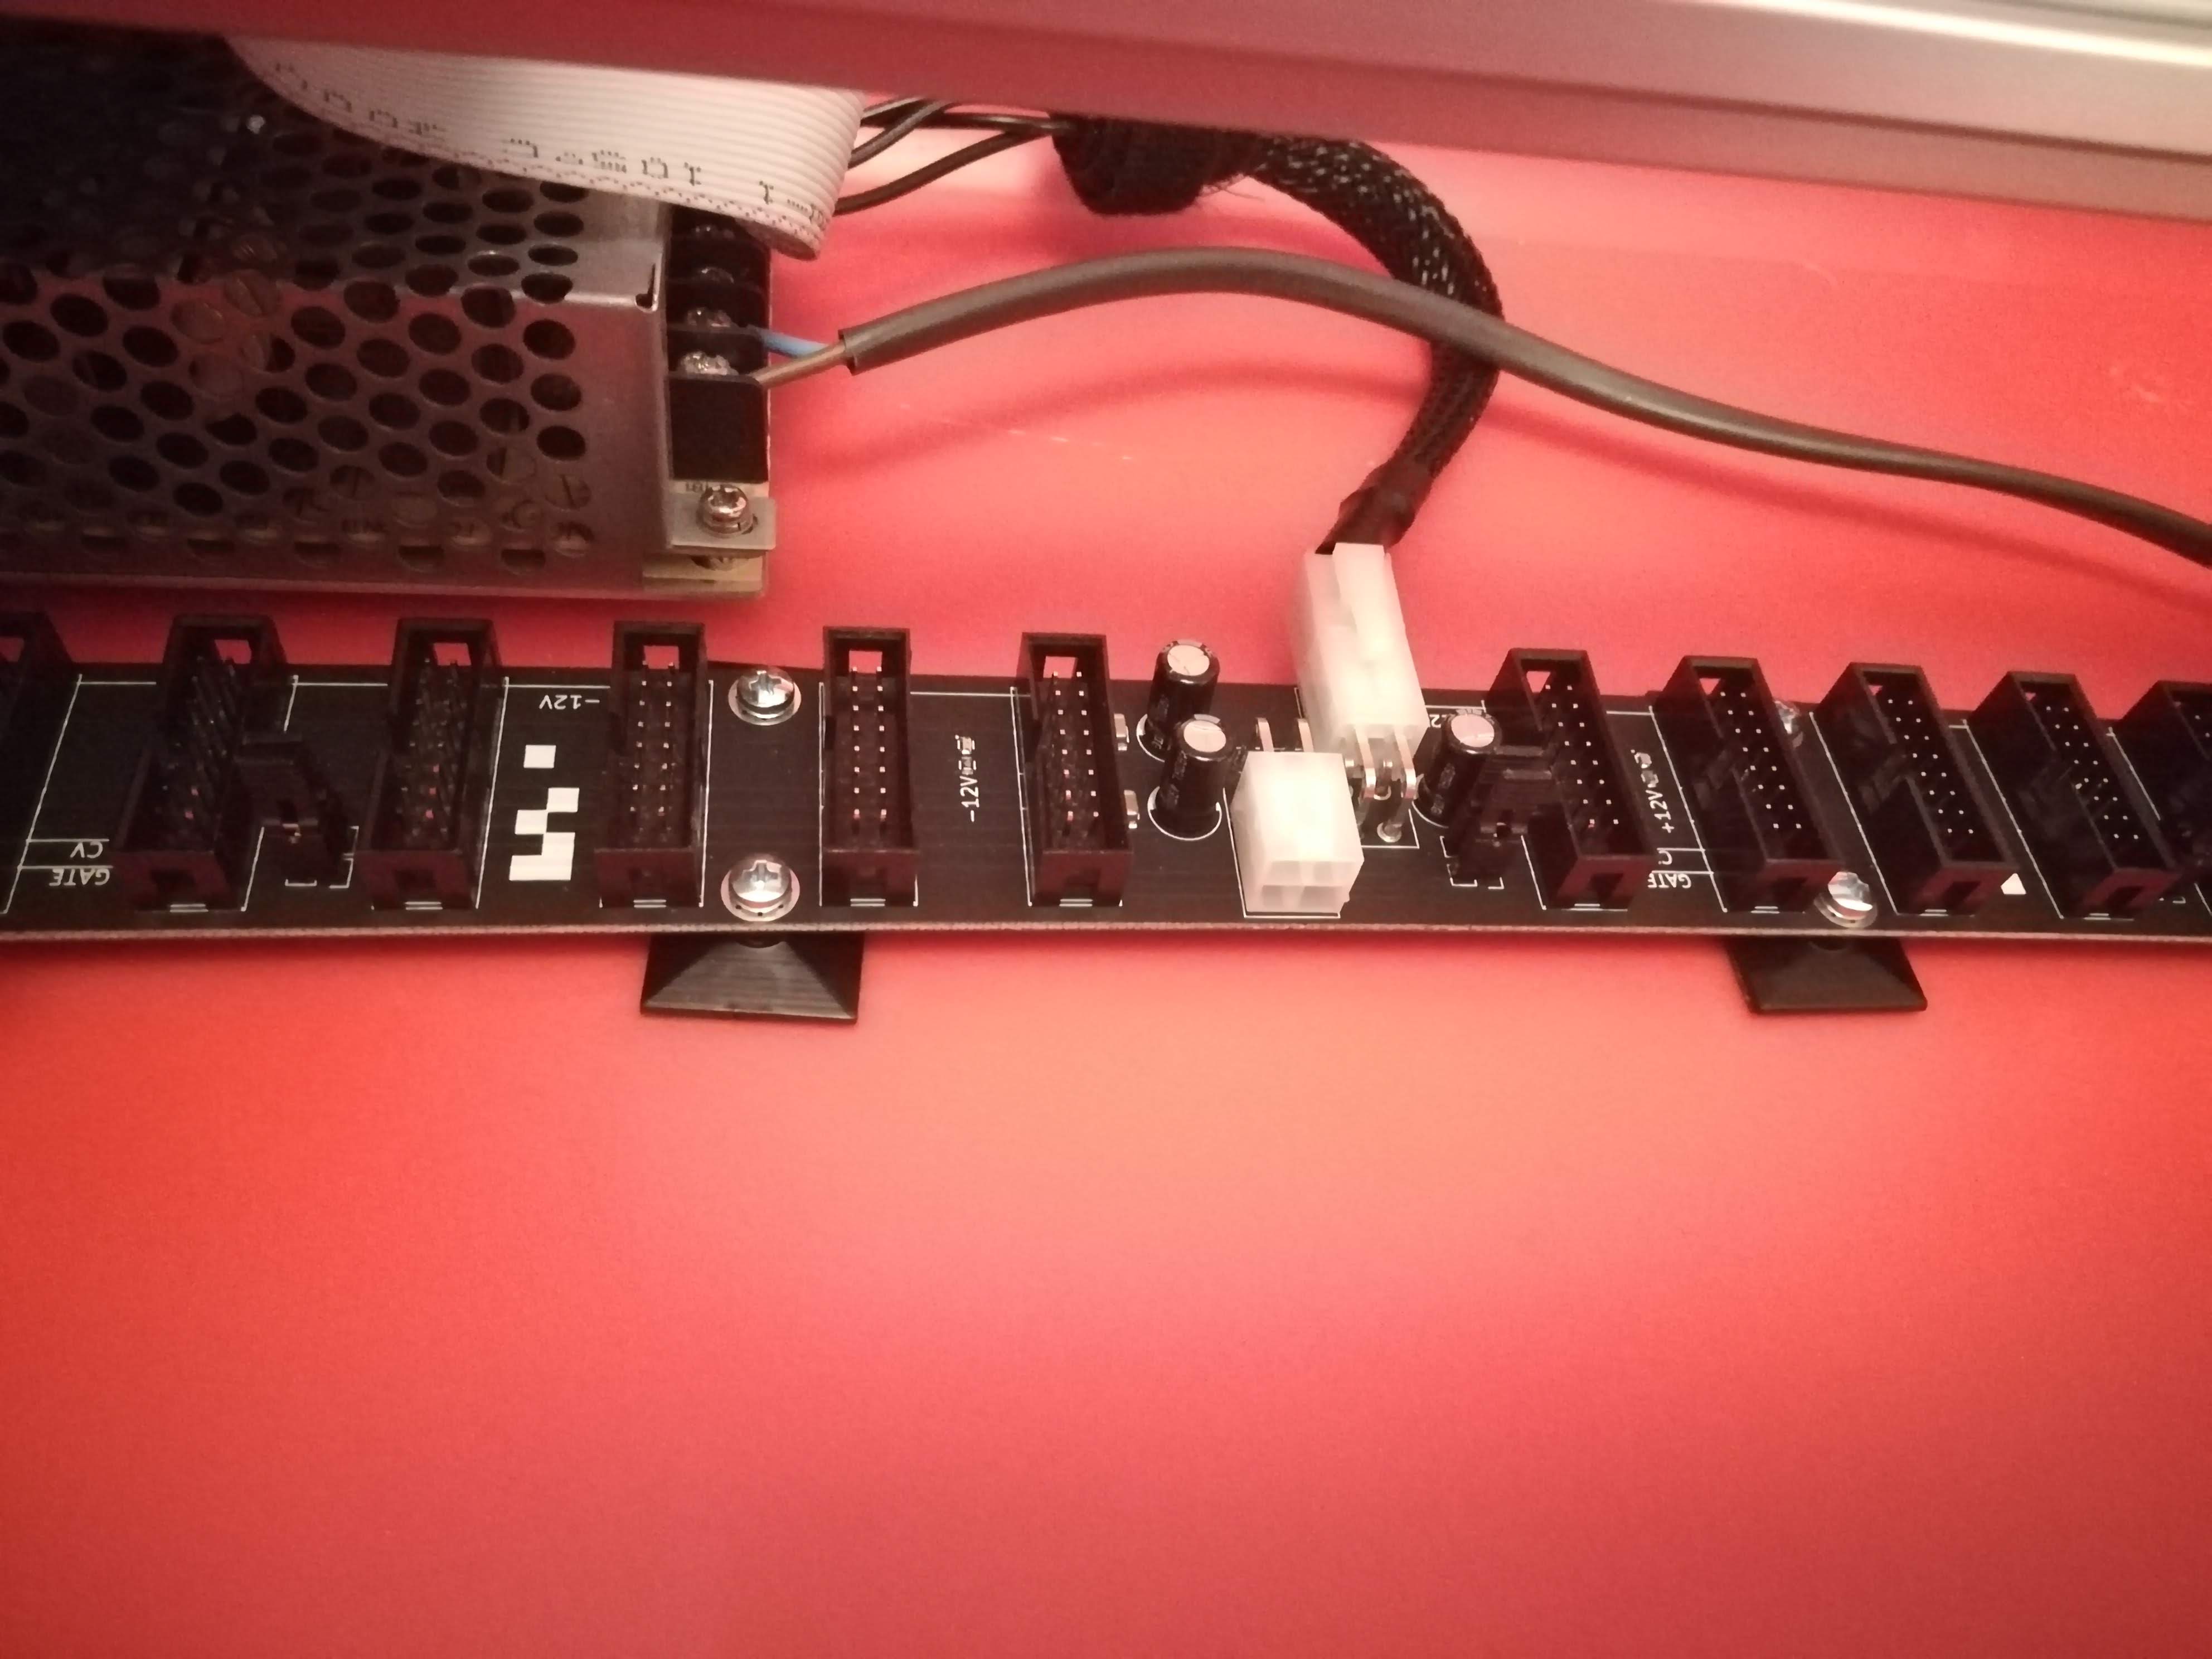
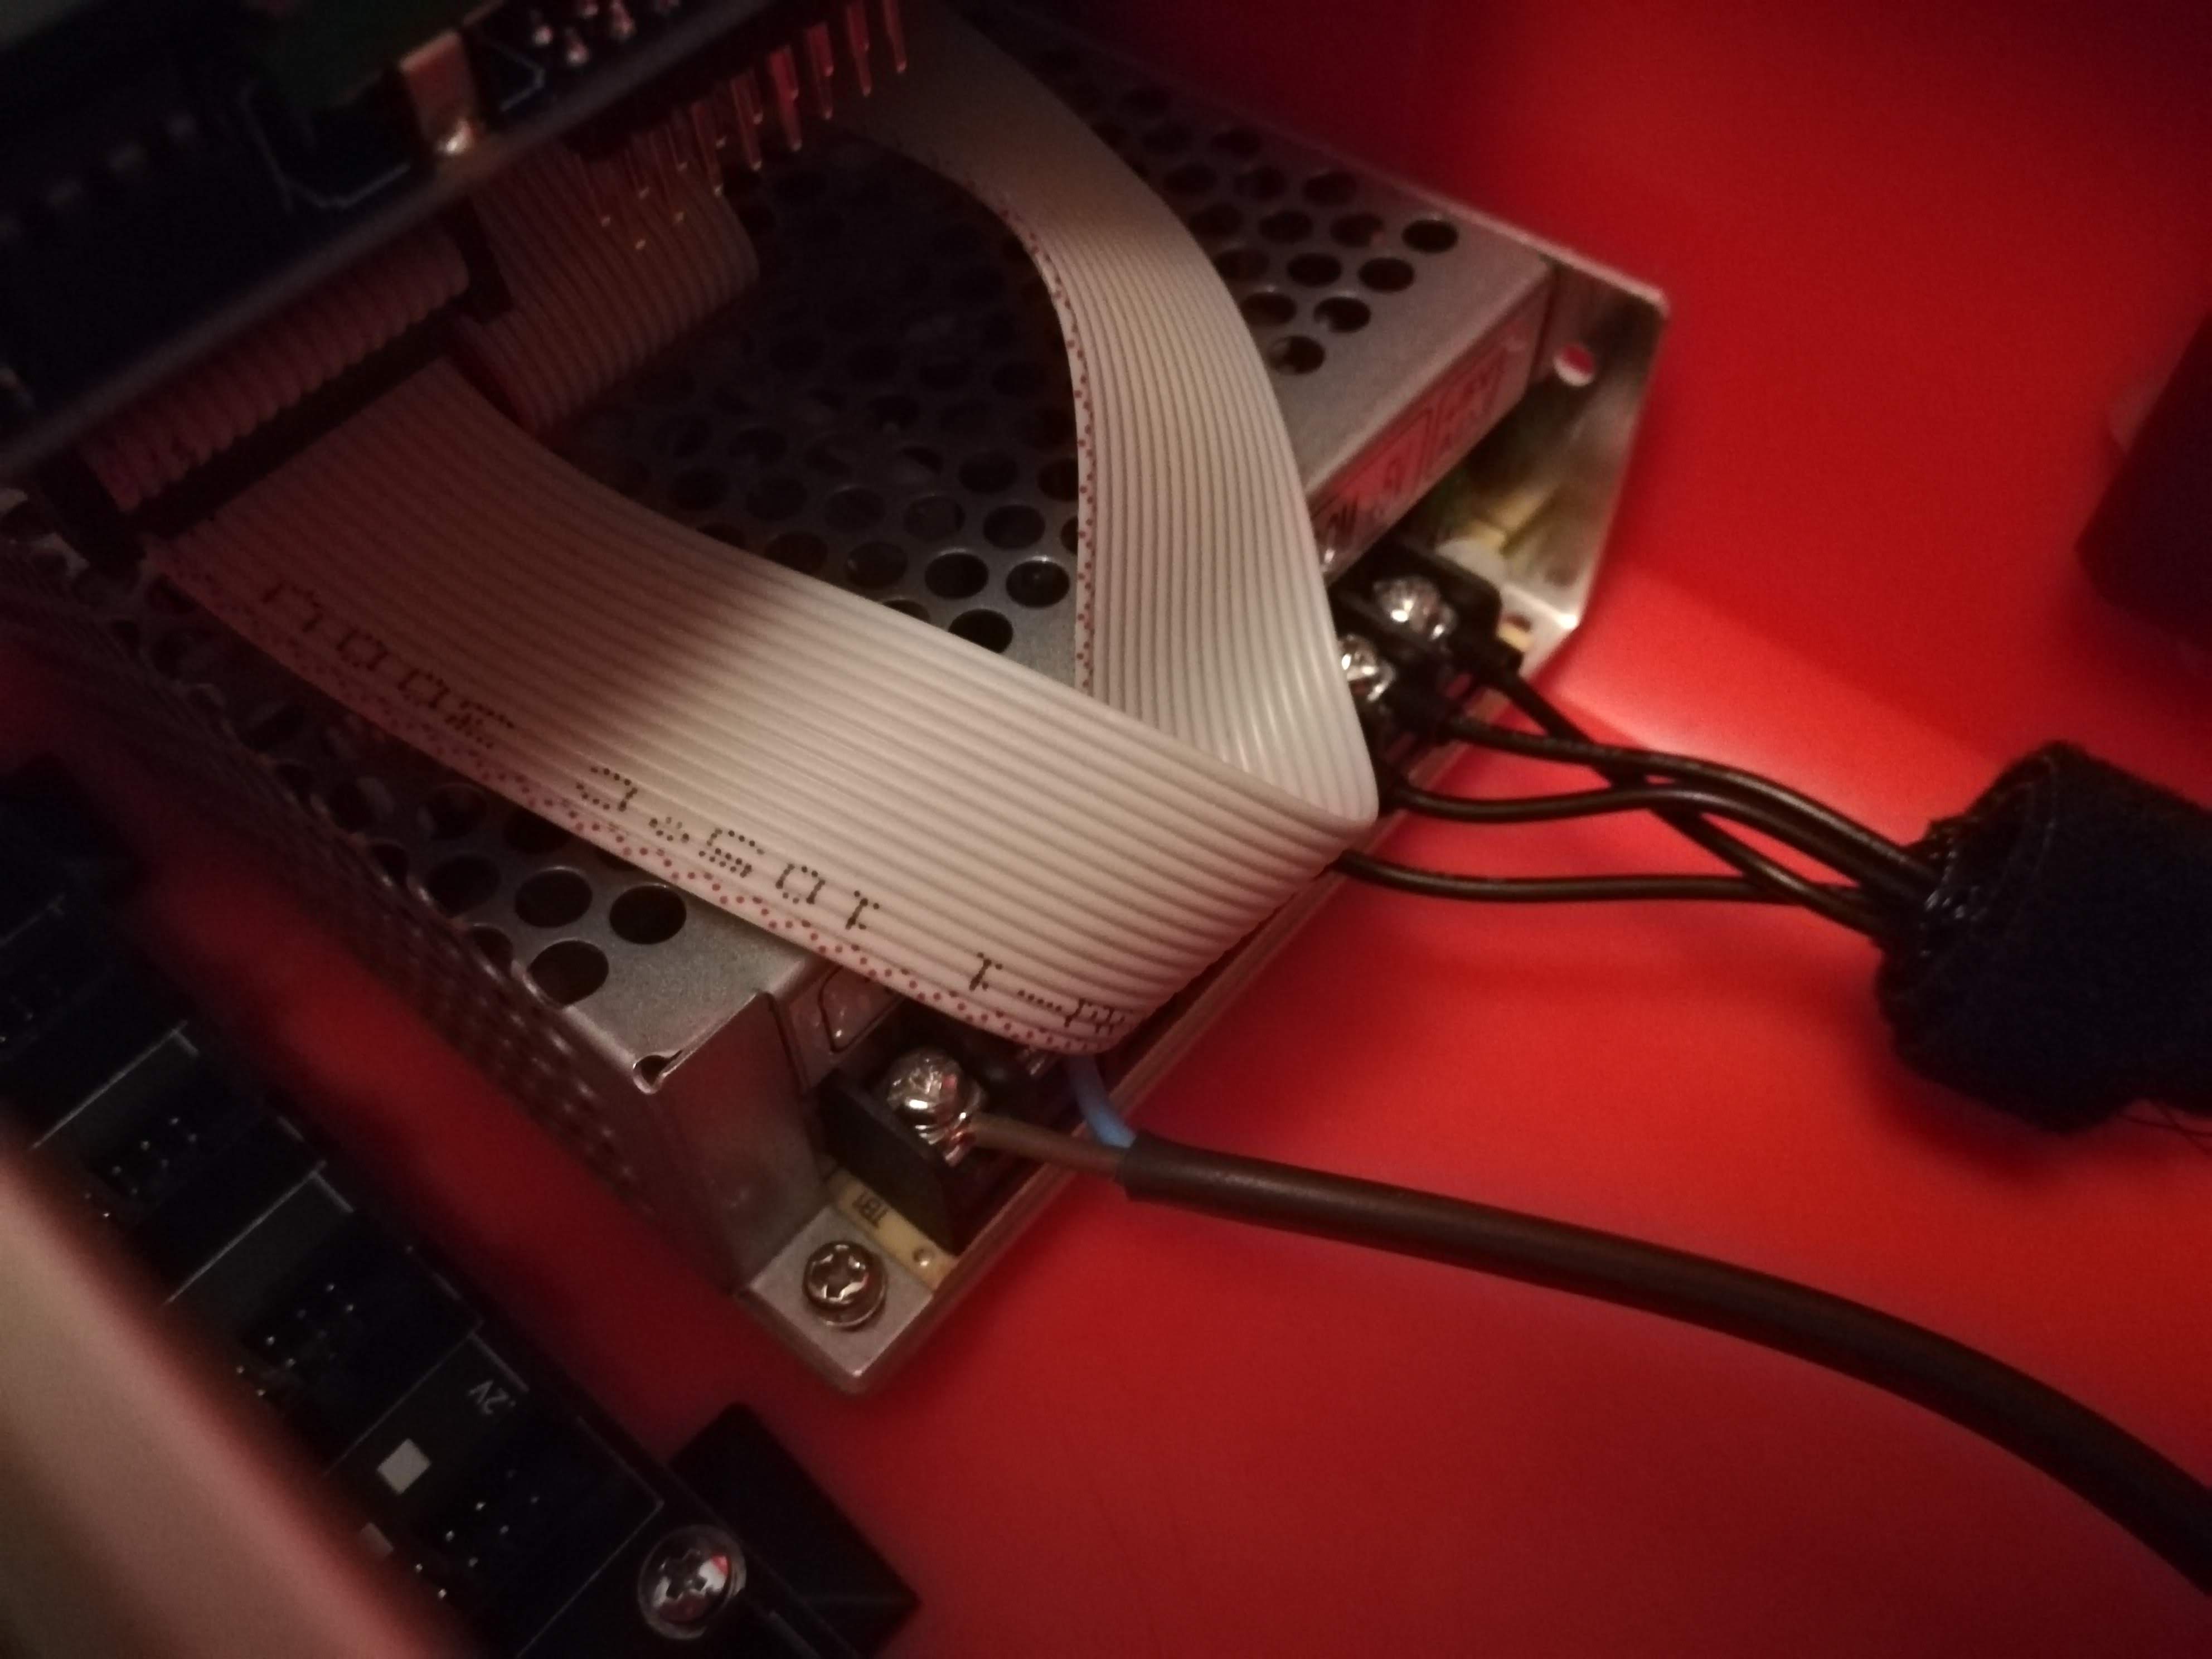
Power
The power supply was mounted with industrial strength Velcro (3M Dual lock) and the bus bar with the included adhesive pads. I cut the included power cable of the bus bar in half and connected the stripped wires to the power supply.
I also added a nice switch and socket for the power. You can the the details in the Eurorack power module article.
It's done
Everything works and is in the case. There are a few corners that could be prettier, but when the case is full, nobody will see it.